
How to re-seal a shower with silicone, a weekend DIY done right
Fresh shower sealant stops leaks, prevents mould, and adds years to your bathroom, and it's a legitimate DIY job in every Australian state. Here's how to do it without it failing in six months.
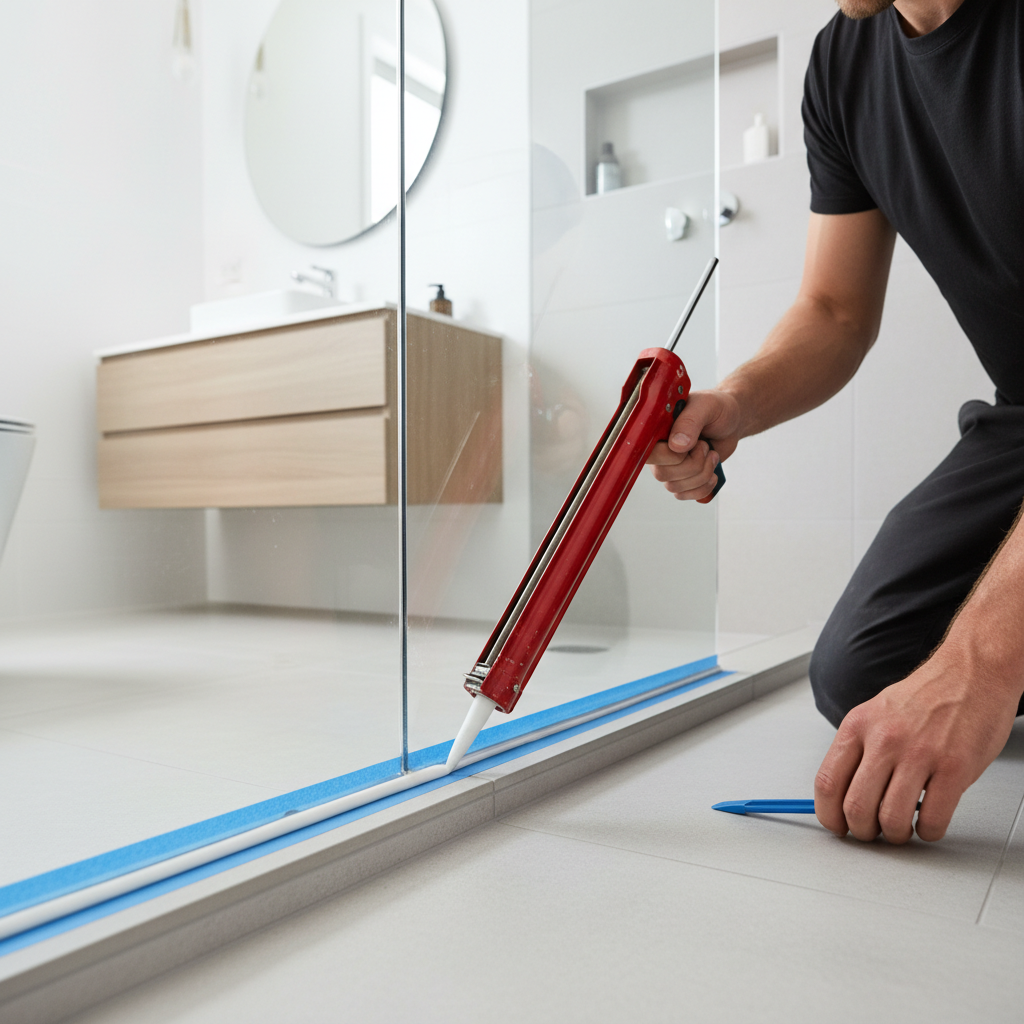
Tools and materials
Tools
- Silicone gun (caulking gun)
- Stanley/utility knife or silicone-removal tool
- Painter's masking tape
- Plastic smoothing tool or finger + soapy water
- Clean rags / paper towel
- Methylated spirits
- Rubber gloves
Materials
- 100% neutral-cure silicone sealant (anti-mould, bathroom-grade), 1–2 tubes
- Silicone remover gel (optional but recommended)
- Mould treatment (if cleaning existing mould)
Cracked, mouldy, or peeling shower silicone is the #1 source of slow bathroom leaks, and one of the cheapest, most satisfying DIY fixes. Done properly, the new bead lasts 5–10 years. Done badly, you’ll redo it next summer.
When silicone is the problem (and when it isn’t)
Silicone is the right fix if:
- The bead is cracked, blackened with mould, or peeling
- Water sits on the bead but doesn’t appear to go behind the tile
- There’s no soft spot in the wall or floor beneath the joint
It’s not the fix, and you need a tiler or licensed plumber, if:
- Tiles are loose or hollow-sounding
- The wall behind the shower feels soft or smells damp
- Water is appearing in the room below or next door
- The shower base is cracked
In those cases the waterproofing membrane has failed. Re-silicone is cosmetic, not structural. Get a licensed plumber or specialist tiler in to check.
Why most re-silicone jobs fail in 12 months
The bead fails because:
- The old silicone wasn’t fully removed. New silicone doesn’t bond to old residue. It looks fine for two weeks, then peels.
- The substrate was damp. Even slightly. The cure traps moisture and weakens the bond.
- Mould wasn’t killed first. The spores stay alive under the new bead and the mould reappears within months.
- Acid-cure silicone was used on stone tiles, corrodes the surface and the bead fails.
Get those four right and your job will last a decade.
Step by step
-
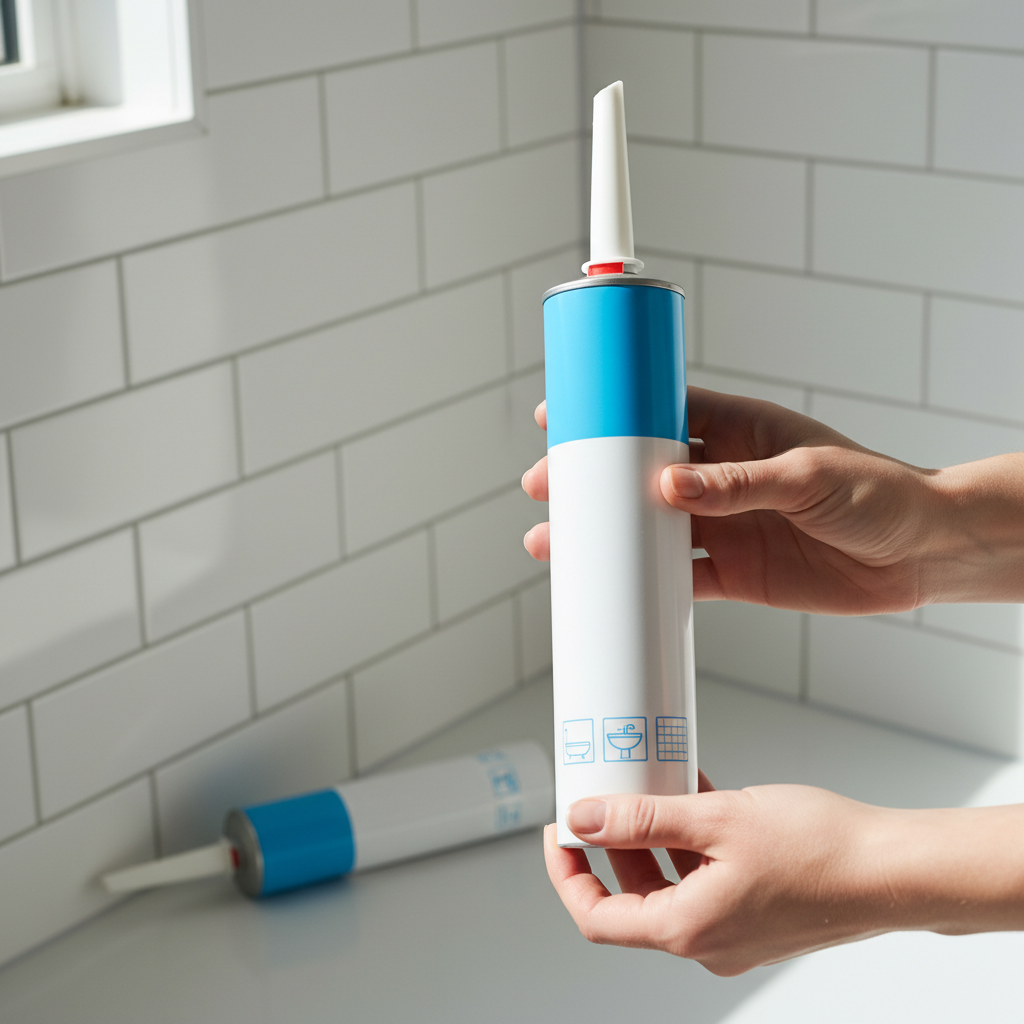
Buy neutral-cure (not acid-cure) anti-mould bathroom silicone. Acid-cure silicone gives off vinegar smell and corrodes natural-stone tiles and some plastics. Neutral-cure is what every Australian standard recommends for wet areas. A 300mL tube does about 3–4 metres of joint at 6mm × 6mm bead. Buy two tubes, you'll never want to run out mid-job.
-
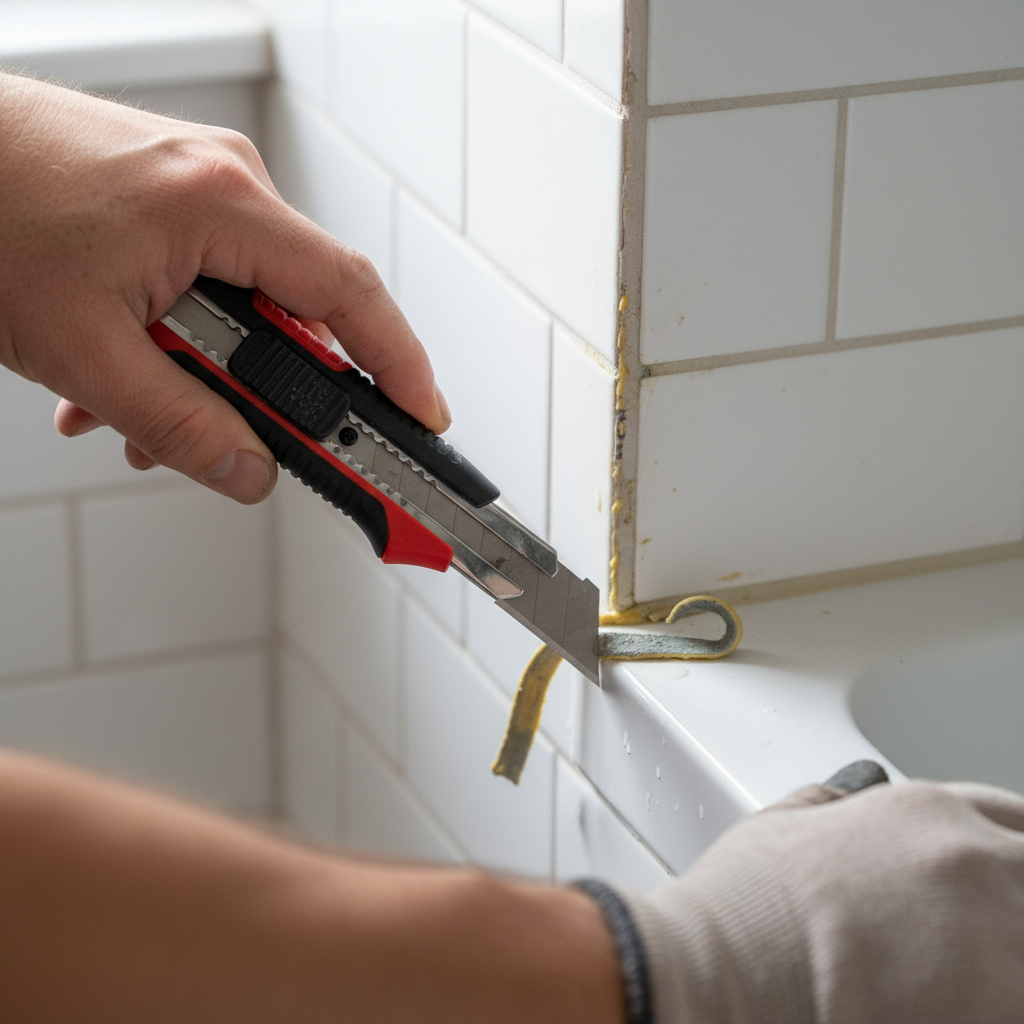
Run the utility knife along both edges of the existing bead. Peel out the strip. A silicone-removal gel softens stubborn residue, apply, wait 30 minutes, scrape off. The new bead will not bond to silicone residue, so the surface has to be 100% clean. Don't skip this. Methylated spirits on a rag picks up the last traces; let it flash off completely.
-
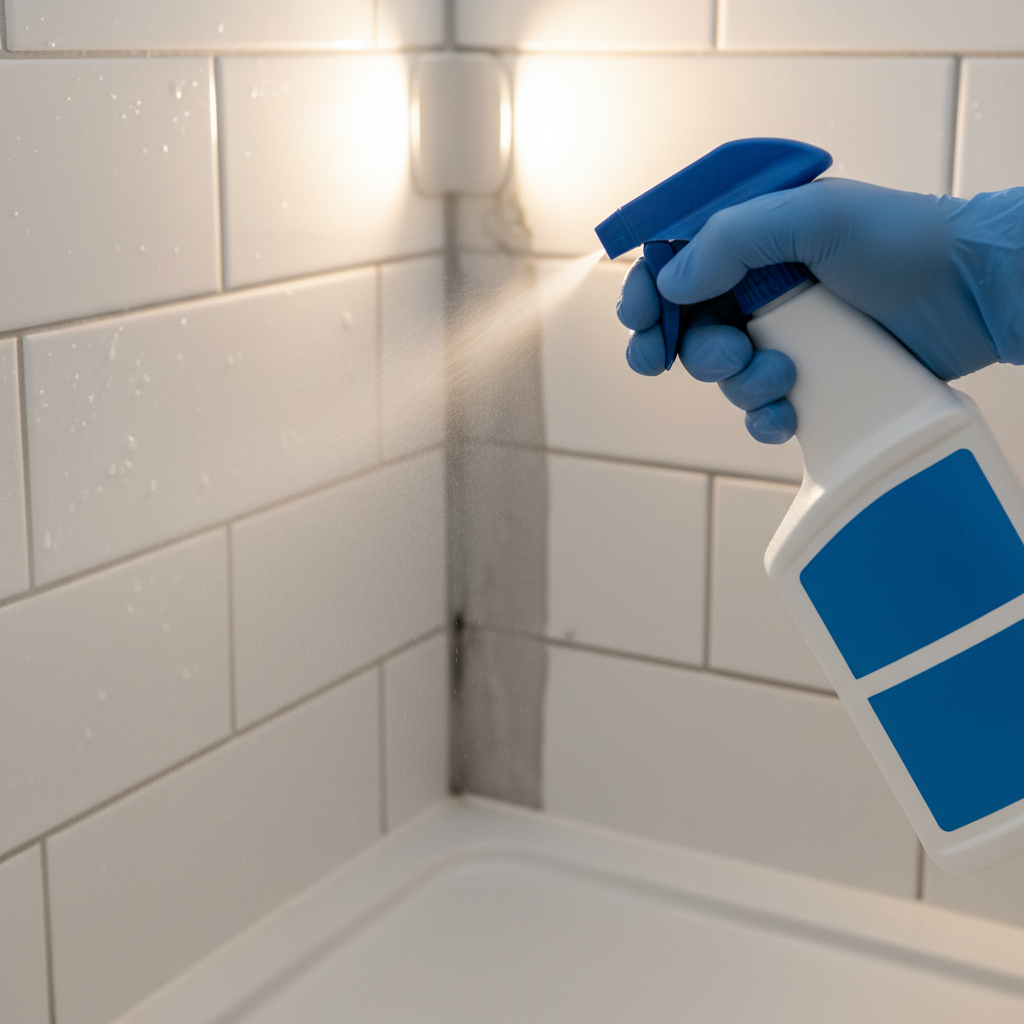
If there was mould in the old joint, the spores are still on the substrate. Treat the area with a bleach-based mould killer or a commercial bathroom mould treatment. Let it sit per the product's instructions (usually 10–15 minutes), wipe clean, and dry thoroughly. Sealing mould into the wall does not stop it, it just hides it for a few weeks.
-
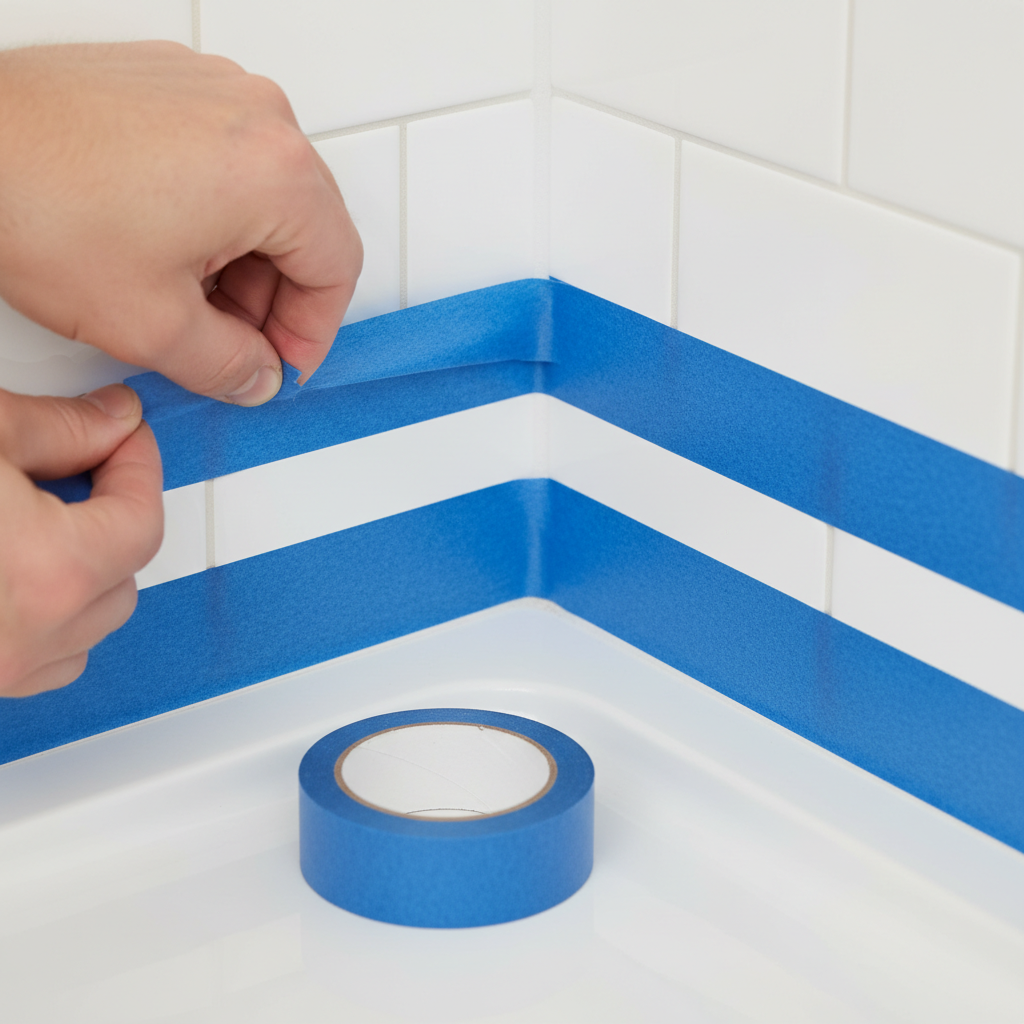
Run painter's tape along both sides of the joint about 5mm back from the corner. This gives you a clean, sharp edge when you peel the tape after smoothing. Skip this step and your bead will look like a 7-year-old did it.
-
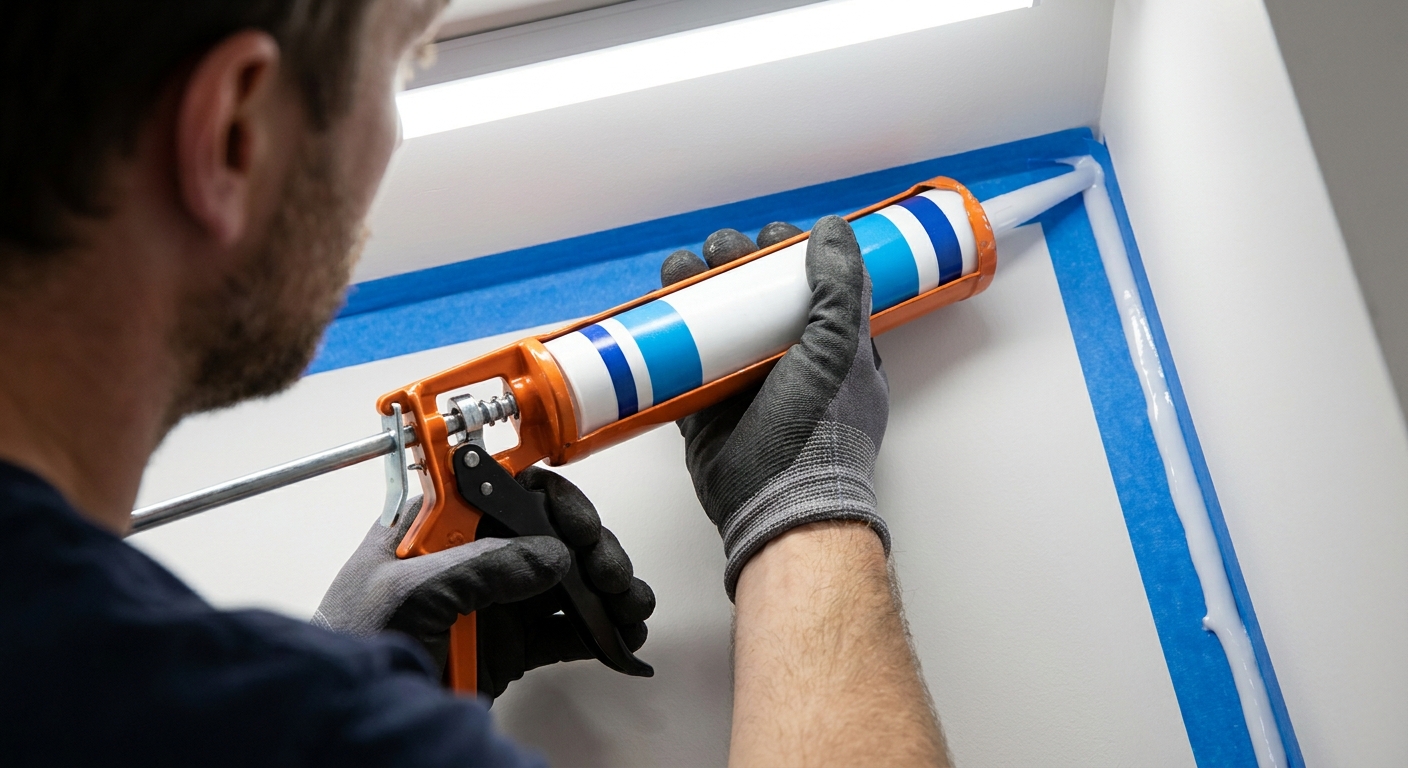
Cut the silicone tube's nozzle at a 45° angle, cut size matches the joint width. Punch the inner seal. Load the gun. Place the nozzle in the joint at 45° and pull (don't push) along the joint with steady pressure. One continuous bead is better than ten short ones. Keep the gun moving, stop, and you'll get a blob.
-
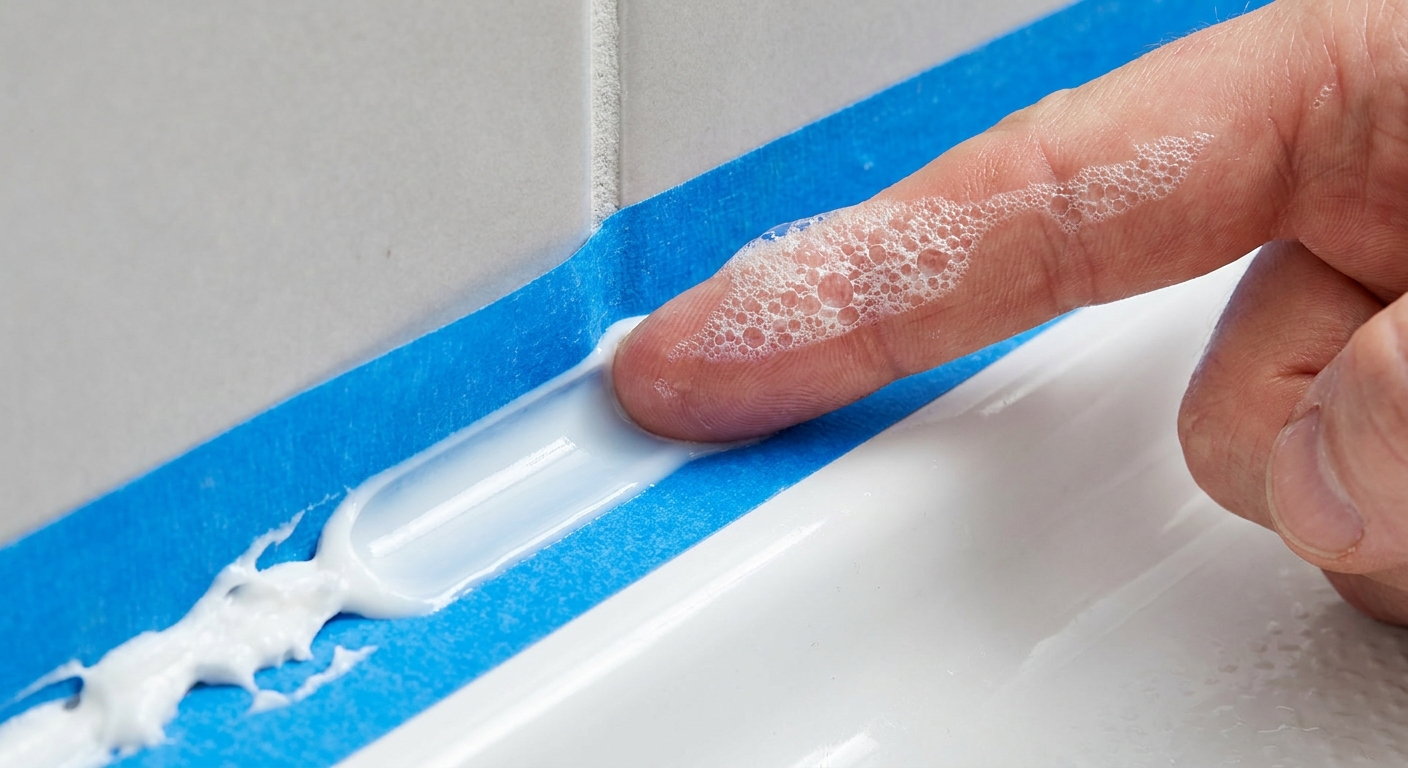
Wet your finger with soapy water (or use a smoothing tool). Run it along the bead in one continuous pass, pressing the silicone into both surfaces. The bead should be concave, not convex. Peel the masking tape immediately, within 5 minutes, pulling away from the bead, not over it. Let the silicone cure for at least 24 hours before water touches it. 48 hours is safer.
Frequently asked questions
How long does shower silicone last?
Quality neutral-cure silicone, properly installed, lasts 5–10 years. Cheap silicone or poor surface prep fails in 12–24 months. The number-one cause of premature failure is bonding to old silicone residue.
Can I shower the next day?
Most neutral-cure silicones say 24 hours minimum, 48 preferred. Cold weather extends cure time. Check the tube, and add 24 hours of buffer.
Why does mould keep coming back in my shower silicone?
Three causes, in order: (1) the substrate isn't dry when sealed, (2) the existing mould wasn't killed before sealing, (3) the joint geometry traps water. Anti-mould silicone resists mould but doesn't kill it, you have to kill it first.
Do I need a plumber to re-silicone a shower?
No. Re-sealing the silicone joint around a shower base, bath, or vanity is a homeowner DIY task in every Australian state. The water supply and drainage aren't touched. If the leak is coming from behind the tiles, that's waterproofing and is licensed-only work.
Acid-cure vs neutral-cure silicone, what's the difference?
Acid-cure releases acetic acid as it sets (the vinegar smell). It bonds well to glass and ceramics but corrodes metals, mortar, and natural stone. Neutral-cure (oxime or alkoxy) is slower-curing but compatible with everything. Always neutral-cure for bathrooms.