
Removing old silicone from a bathroom without damaging tiles or stone
Stripping off old shower or bath silicone is half the battle in a re-seal. Here's the right way to remove every trace without scratching the tile.
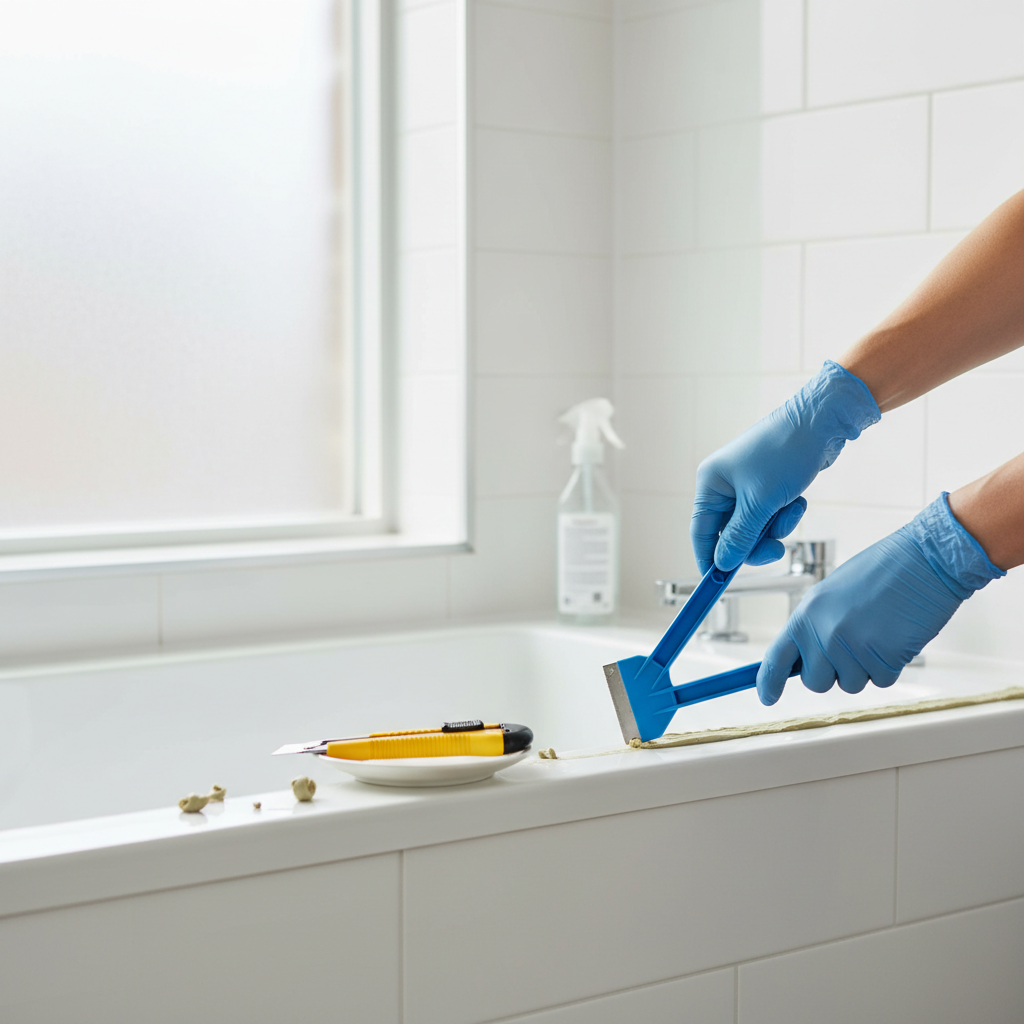
Tools and materials
Tools
- Stanley knife or utility knife with sharp blade
- Plastic scraper or silicone-removal tool
- Old toothbrush
- Rubber gloves
- Clean rags
Materials
- Silicone-removal gel (Selleys, DAP, or generic)
- Methylated spirits
Removing old silicone is the unglamorous half of a shower re-seal. Get it right and the new bead lasts a decade. Get it wrong and your new bead peels in three months.
This is genuinely DIY work in every Australian state. No plumbing or electrical involvement, just patience and a sharp knife.
The trap most DIYers fall into
People remove the visible silicone bead and assume the surface is clean. It isn’t. A thin film of silicone is bonded to the tile or enamel, invisible but present. New silicone does not bond to old silicone residue. The new bead looks fine for a fortnight, then peels.
The fix is silicone-remover gel ($15) and methylated spirits ($10). Together they cost less than a pizza and save you the entire job being a waste.
Tools that actually work
- Stanley/utility knife with a sharp blade, for the initial cuts
- Silicone-removal tool, a plastic dual-blade tool sold in DIY stores for $5 to $10
- Plastic scraper, never metal on enamel or stone
- Silicone-remover gel, Selleys, DAP, or generic, $12 to $20
- Methylated spirits, $8 a litre, removes the final film
- Rubber gloves, the gels can irritate skin
When to call a tiler or plumber
If during removal you find:
- Soft or hollow tiles around the joint
- Water damage in the substrate
- Mould growing behind the tile
- Cracked or lifting waterproofing membrane
- Water coming through to the room below or next door
Stop. The silicone isn’t your problem, the waterproofing membrane is. A new bead won’t fix it. Get a licensed plumber or specialist tiler to assess. Re-tiling and re-membraning a shower runs $3,000 to $8,000 but it’s much cheaper than discovering the rot behind the tiles in two years.
Step by step
-
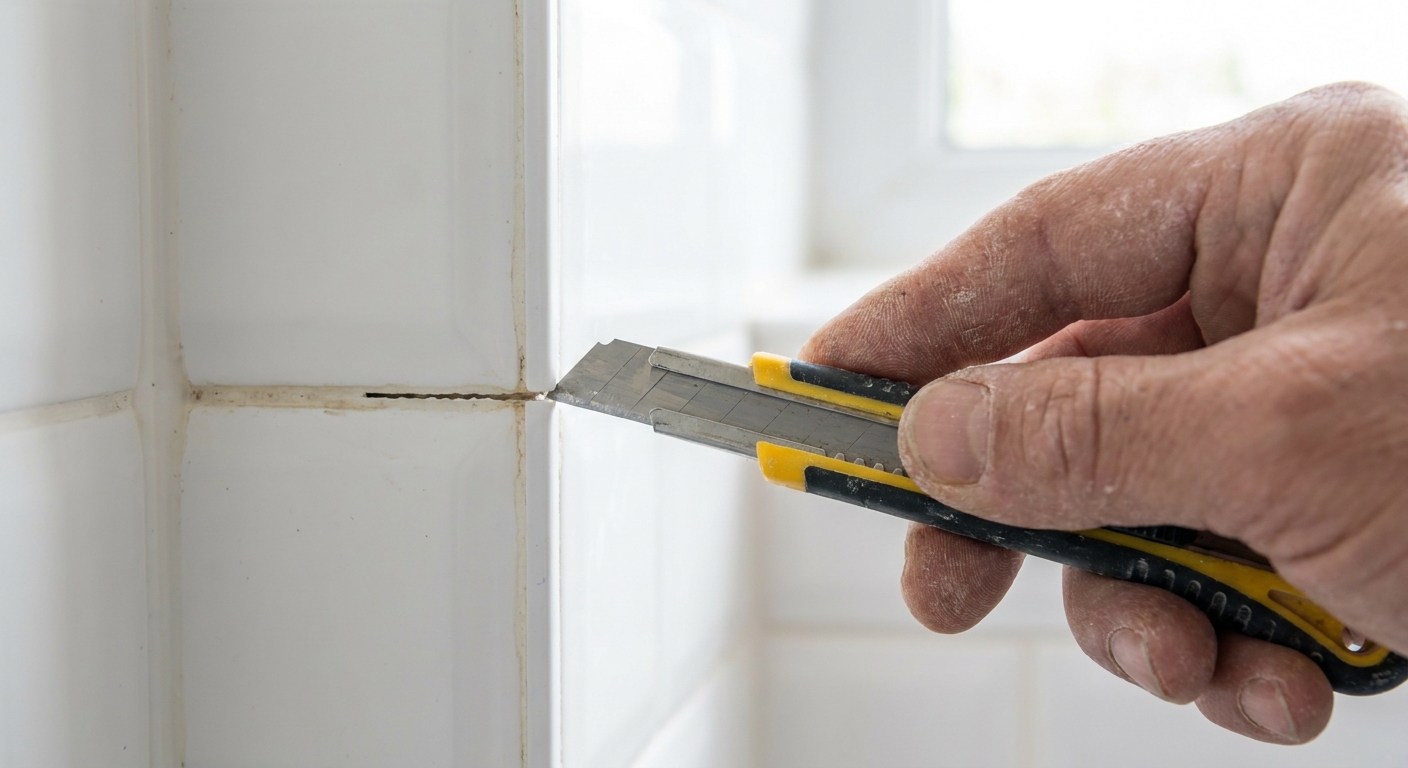
Run the utility knife along the top edge of the silicone bead, where it meets the tile. Then run it along the bottom edge, where it meets the bath, shower base, or basin. Two clean cuts release most of the bead.
-
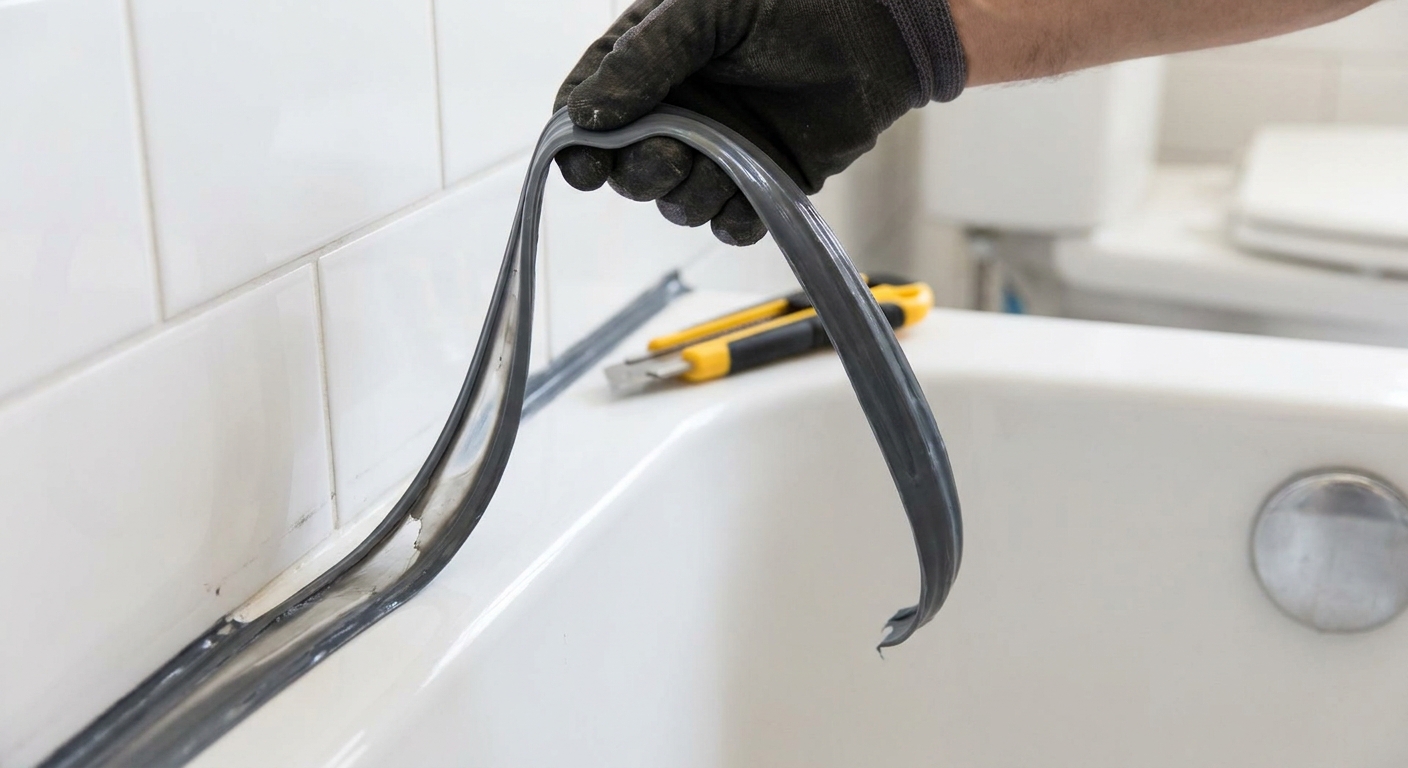
Lift one corner of the cut bead with the knife tip, then peel the whole strip out in one continuous pull. Quality silicone peels in long ribbons. Cheap silicone shreds, accept it and pick the pieces out.
-
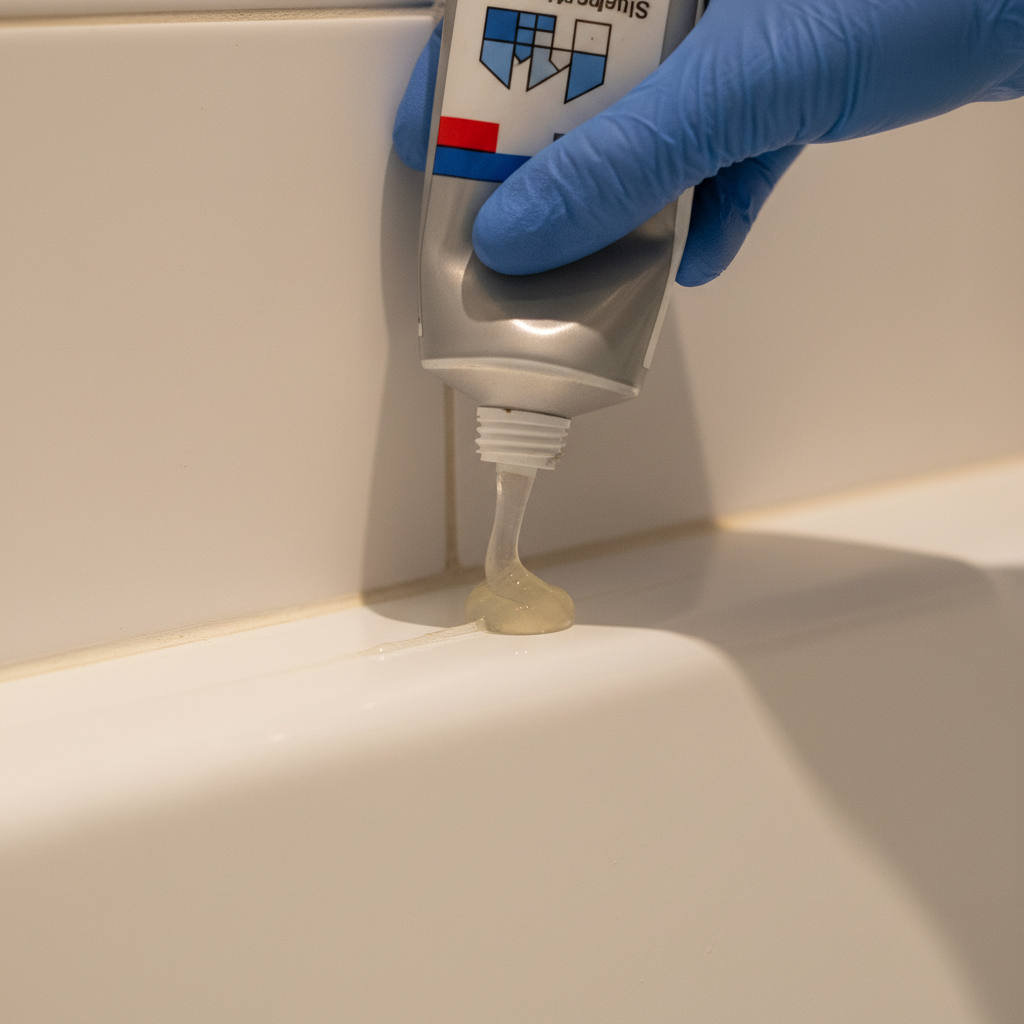
What's left behind is the thin film bonded to the surface. New silicone won't bond to it. Apply silicone-remover gel (Selleys Silicone Remover or DAP Silicone Remover, around $15) to the residue. Cover the residue, leave for 30 minutes (or as the label says).
-
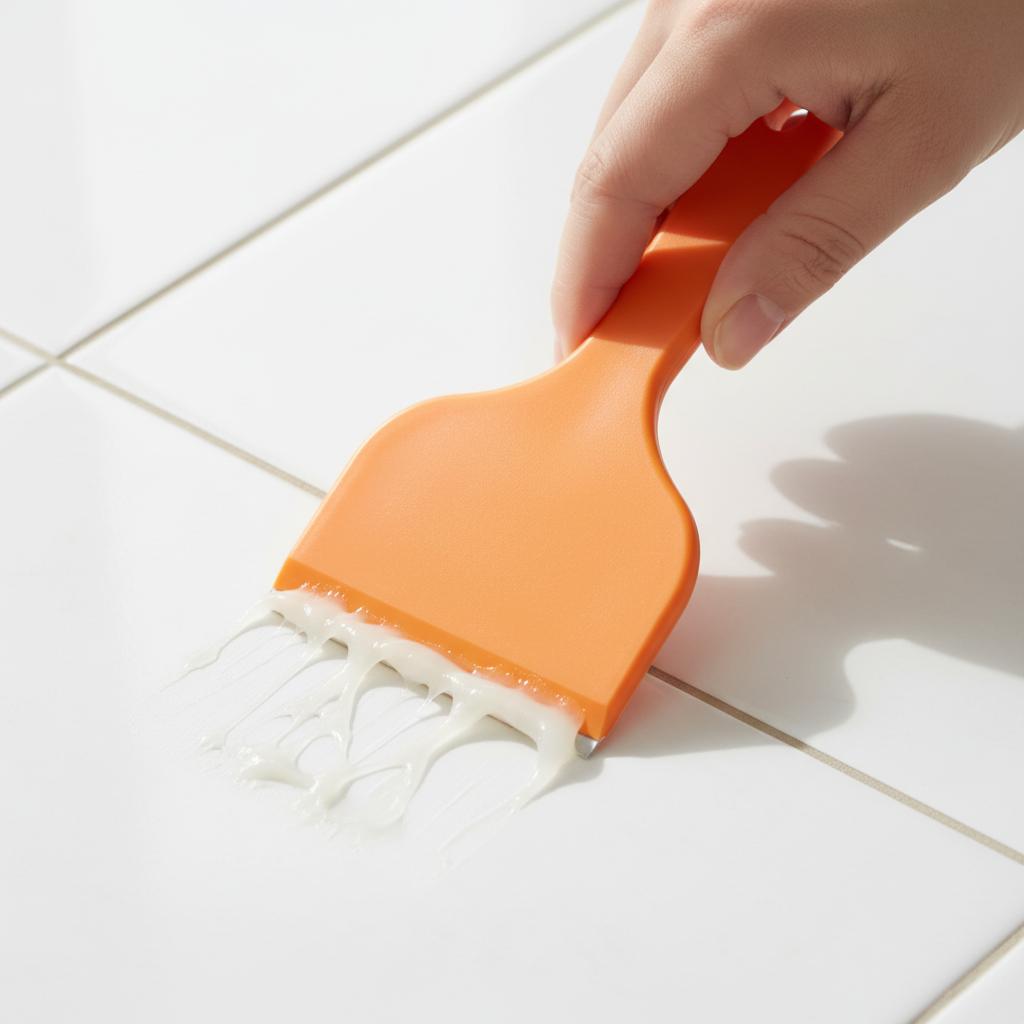
Use a plastic scraper (or the silicone-removal tool that comes in some kits). The softened residue lifts as gummy strings. Work patiently, two or three passes is normal. Don't use metal scrapers, they scratch enamel and stone.
-
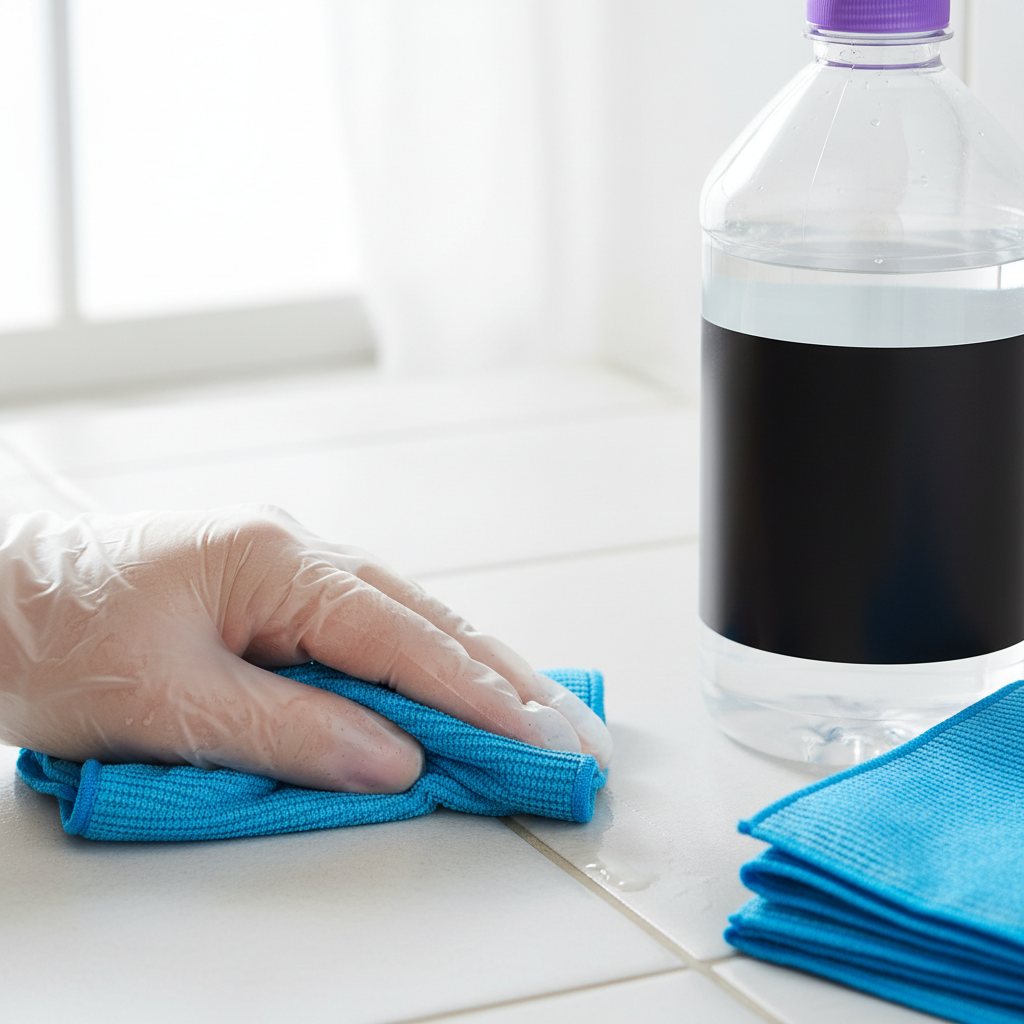
Once the visible residue is gone, wipe the surface with a clean rag dampened with methylated spirits. This picks up the last invisible film. Let it flash off completely (5 to 10 minutes) before sealing. Methylated spirits evaporates fast; no residue.
-
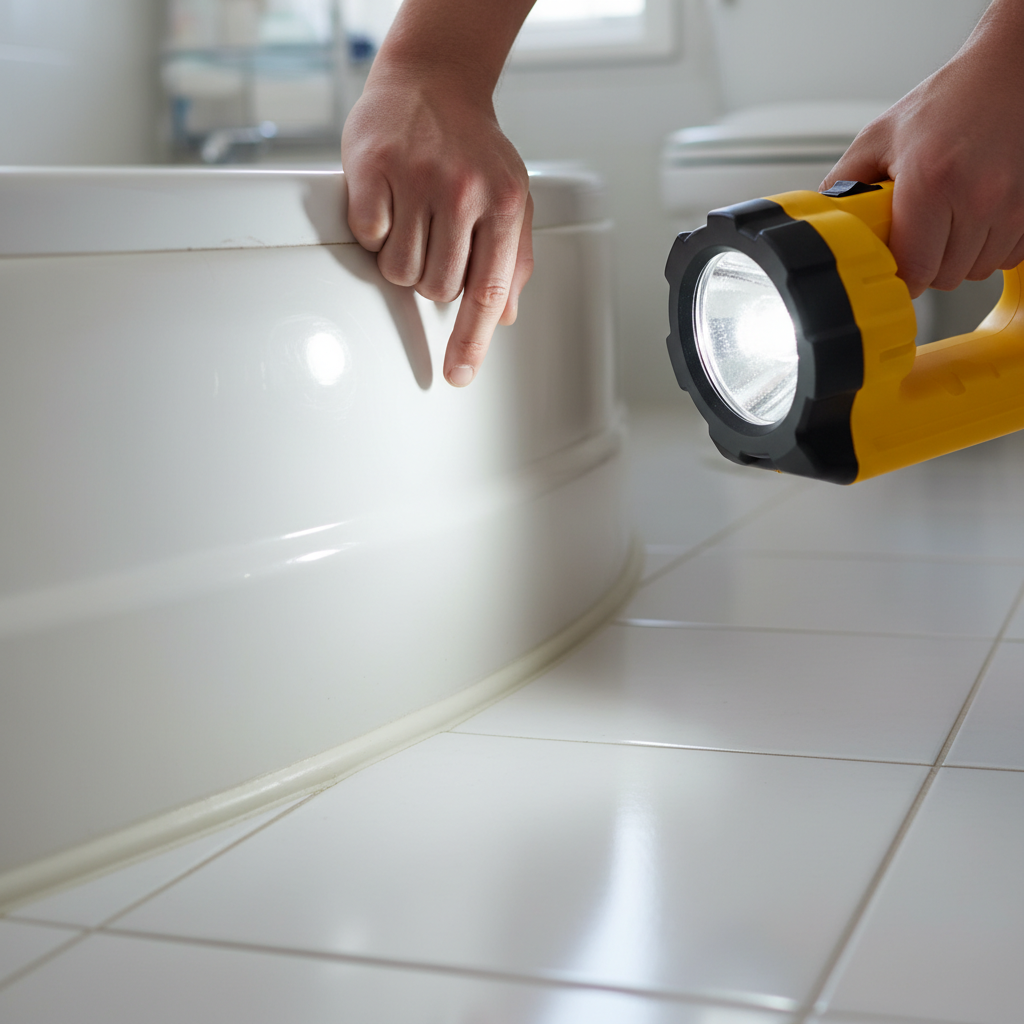
Run a finger along the surface. If it feels at all sticky or rubbery, repeat steps 3 to 5. Only when the surface is completely clean and dry should you apply new silicone. Sealing over residue is the #1 reason new silicone fails within months.
Frequently asked questions
Will silicone remover damage my tiles?
Modern silicone removers are safe for ceramic, porcelain, glass, and most enamels. Test on a hidden corner first if you have natural stone (marble, travertine, limestone), some removers are slightly acidic and can etch unsealed stone.
Can I use a heat gun to soften silicone?
Yes, but with care. A heat gun set to low (60 to 80°C) softens silicone enough to peel. Too hot and you risk discolouring tile grout, melting nearby plastic, or damaging acrylic baths. Silicone-remover gel is safer for DIY.
Why won't my new silicone stick after removing the old?
Almost always because residue from the old bead is still there. The visible bead may be gone but a thin invisible film bonds to the surface, and new silicone won't stick to it. Methylated spirits + another scrape cycle fixes this.
Do I need a plumber for silicone removal?
No. Re-sealing the joint around a shower, bath, or basin is a homeowner DIY task in every Australian state, the water supply and drainage aren't touched. If you find the leak is behind the tiles or in the substrate, that's waterproofing work and needs a licensed plumber or tiler.