
How to replace a toilet seat, a 15-minute DIY job for any Aussie home
Replacing a toilet seat is one of the few plumbing jobs you can legally do yourself in Australia. Here's exactly how, in six steps, with the gotchas no one warns you about.
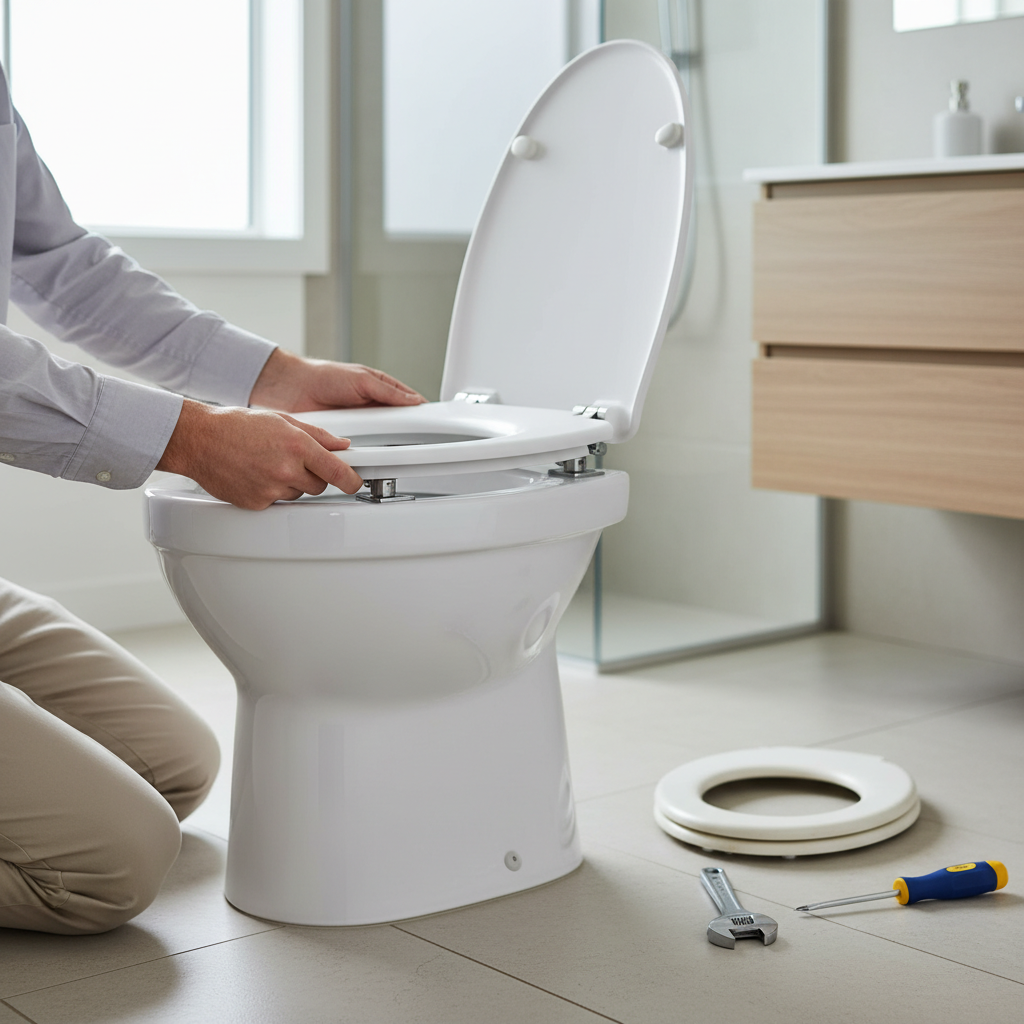
Tools and materials
Tools
- Adjustable spanner or socket wrench
- Phillips-head screwdriver (sometimes flat)
- Tape measure
- Old towel or rag
- Rubber gloves
Materials
- New toilet seat (correct shape and fixing type)
- Disinfectant spray
- Anti-seize lubricant (optional, for plastic fixings)
A new toilet seat is one of the cheapest, fastest home improvements you can make, and one of the very few plumbing-adjacent jobs that’s legal to DIY in every Australian state. It’s also one of the easiest to get wrong if you don’t know the gotchas.
When the seat is actually the problem
Before you replace the seat, confirm the problem is the seat, not the pan, not the cistern, not the fixings. The seat itself is the issue if:
- It’s cracked or stained beyond cleaning
- The hinges are rusted or wobbly even after tightening
- The soft-close dampers no longer work
- It’s yellowed from age and won’t come clean
If the problem is anywhere else, water leaking, cistern running, the pan rocking on the floor, that’s plumber territory.
2026 prices to call a plumber instead
Most plumbers won’t bother quoting just a seat replacement, but if you’re already paying a call-out fee for other work, expect to pay $80–$150 on top of the seat itself for a plumber to fit it. At those prices, the 15 minutes it takes to DIY is good value.
When to stop and call a plumber
While replacing the seat, you might discover problems that aren’t yours to fix:
- The pan rocks on the floor → wax ring or fixing problem, licensed plumber
- Water seepage around the base → broken seal, licensed plumber
- Cistern continuously running → cistern repair, often licensed in your state (check your state, internal cistern parts are DIY-safe in some states, licensed in others)
- Cracked porcelain → the toilet needs replacing, fully licensed plumber job
When in doubt, call a plumber. The $150 call-out is a lot cheaper than a flooded bathroom from a botched DIY.
Step by step
-
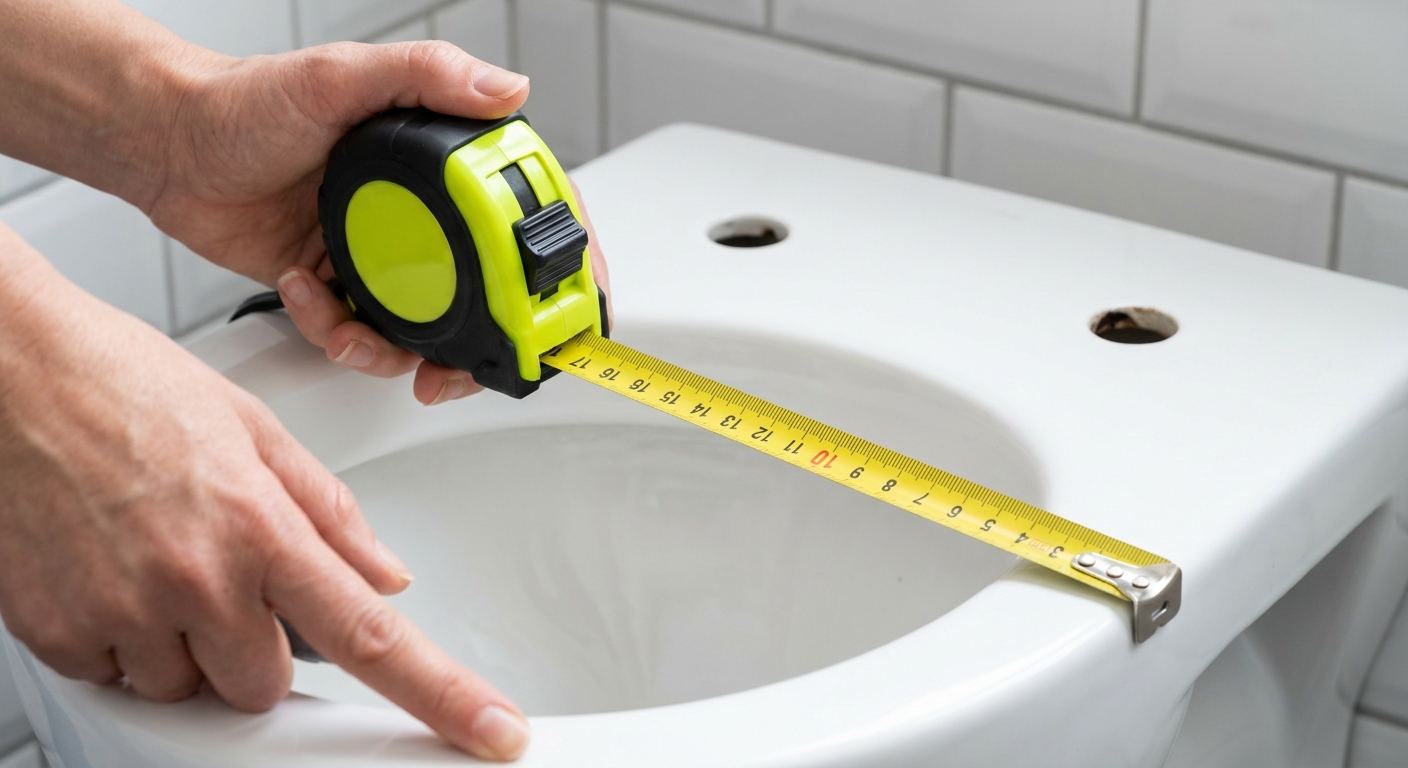
Toilet seats are not one-size-fits-all. Measure three things on the bowl: (1) length from the centre of the fixing holes to the front of the bowl, (2) width at the widest point, (3) distance between the fixing holes. Most Aussie toilets are 'standard round' or 'elongated/D-shape', but rim-edge profiles vary. Take photos before you go to the store, every plumbing aisle has a chart but a phone photo is faster.
-
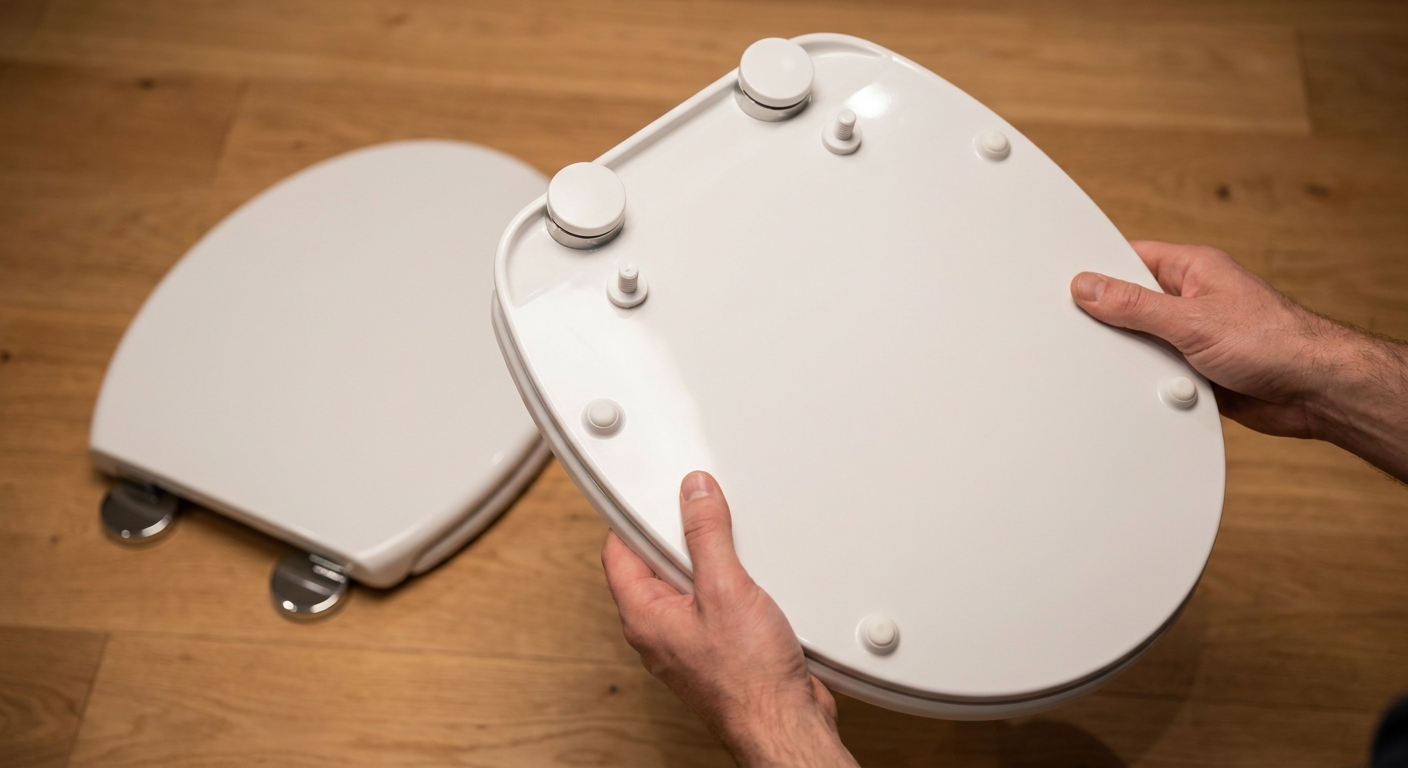
Match the shape exactly. Cheaper plastic seats run $25–$45; quick-release soft-close seats run $60–$120 and are worth it. Verify the fixing system, most are top-fix (tighten from above, easier on close-coupled cisterns) but some older suites are bottom-fix (nut underneath, fiddly).
-
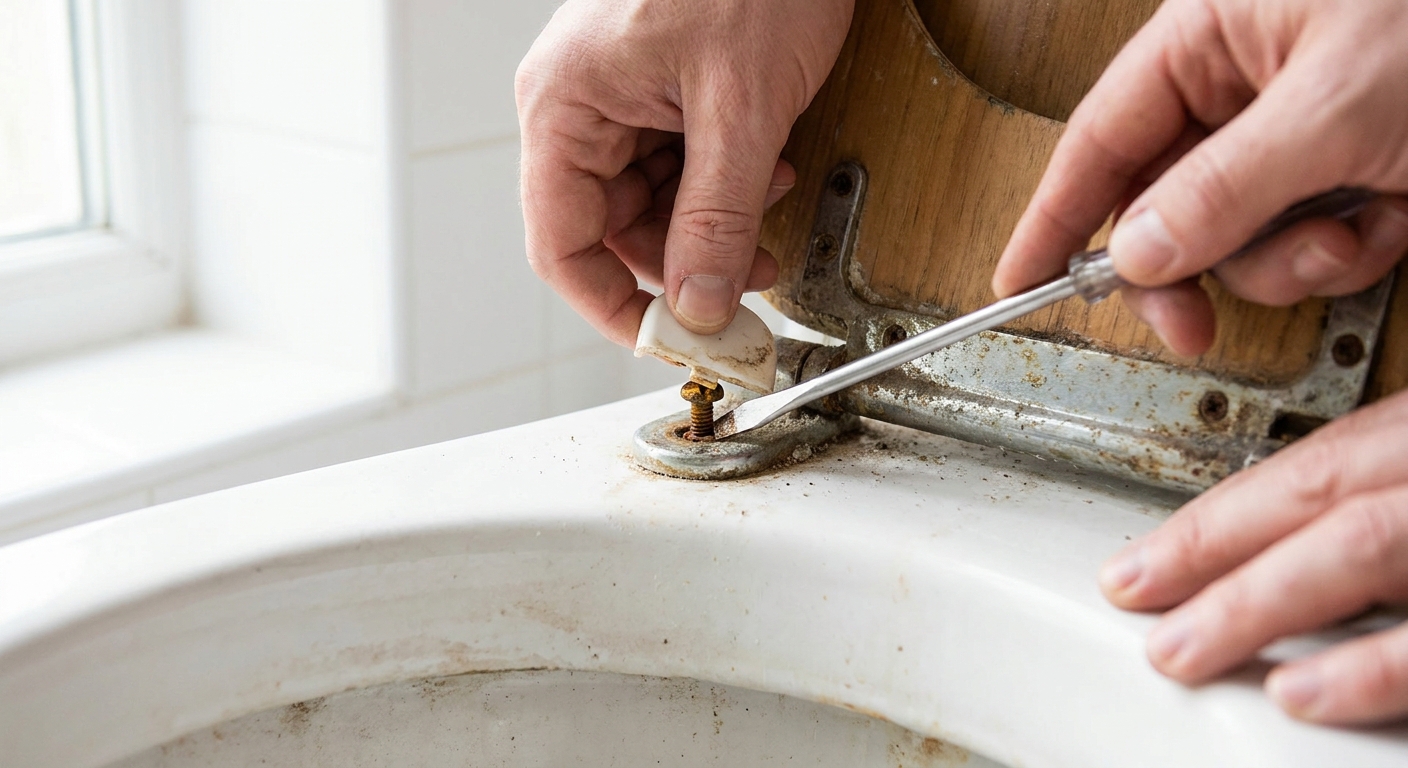
Lift the seat. On the bowl rim near the hinge, find the plastic caps covering the fixing screws. Prise them up with a flat screwdriver. Hold the nut underneath the bowl with one hand and unscrew the screw from above with the other. If the nut won't budge, spray with WD-40 and wait two minutes. Older seats often have corroded brass nuts that need patience, not force, if you crack the porcelain you've just bought yourself a new toilet.
-
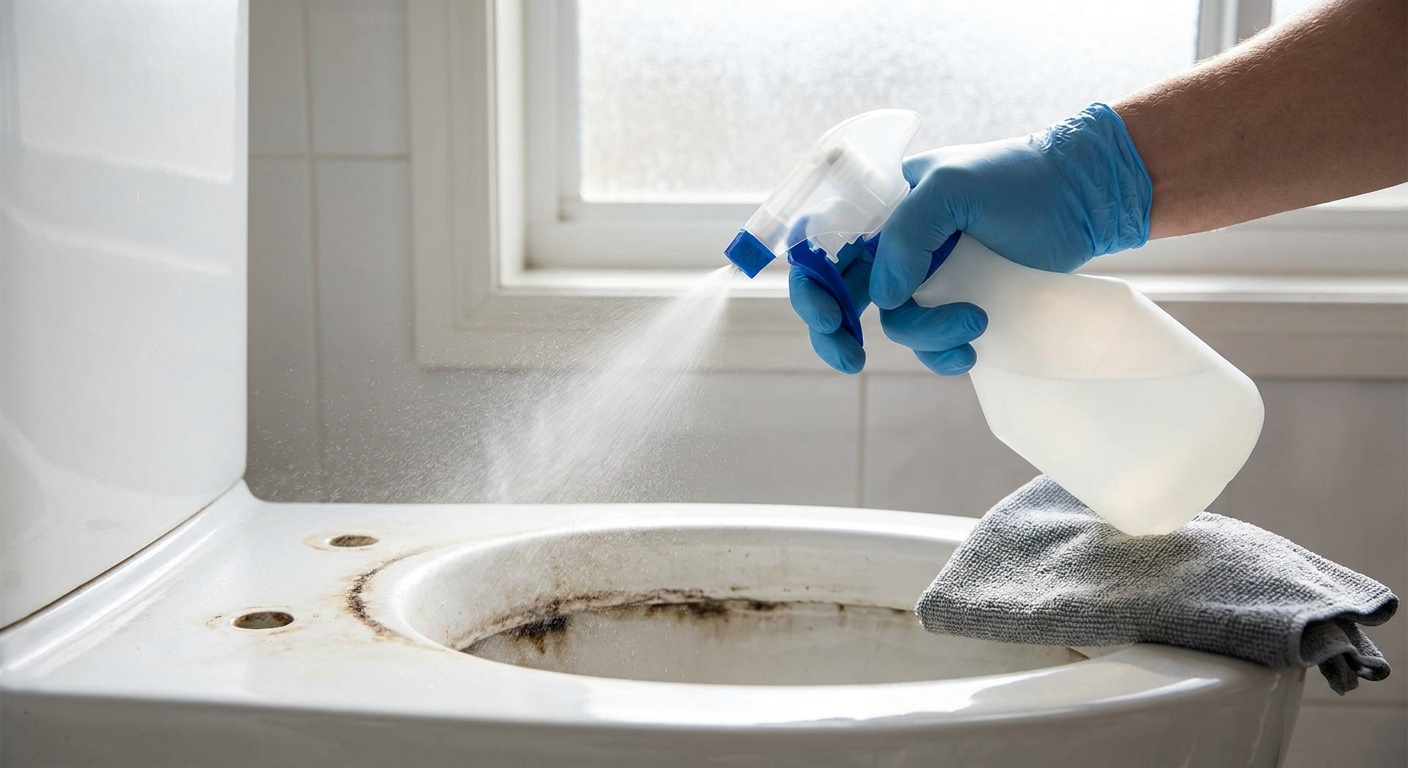
Once the seat is off you'll see years of accumulated grot around the fixing area. Spray the rim with disinfectant, wipe with a rag, and let it dry completely before fitting the new seat. This is the only time you'll see this surface, don't waste the opportunity.
-
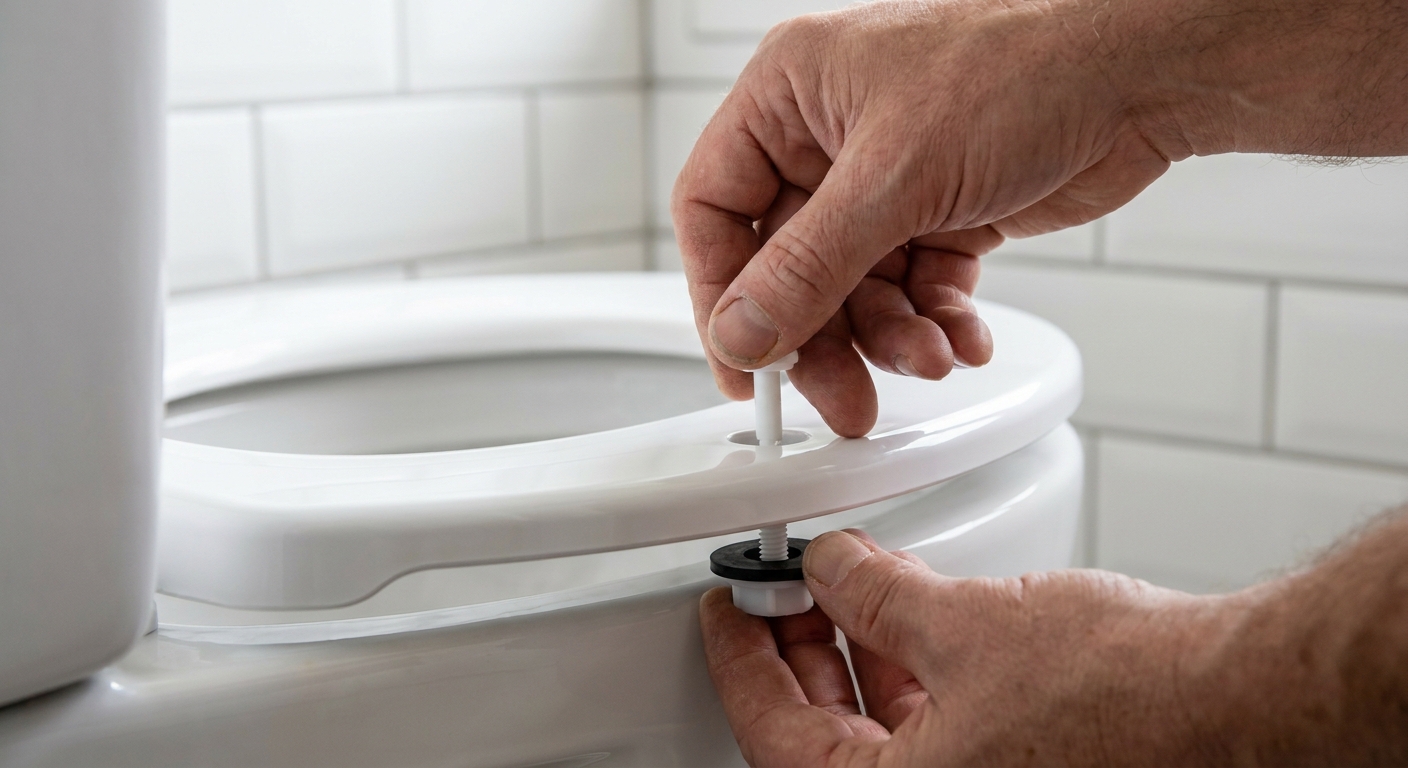
Drop the new fixing bolts through the hinge plate and the bowl holes. Slide the rubber washers and nuts on from underneath. Tighten by hand first, then use the spanner, but only firm, not tight. Plastic fixings crack if you over-torque. The seat should sit centred over the bowl without wobble; if it wobbles, the fixings need re-positioning, not tightening harder.
-
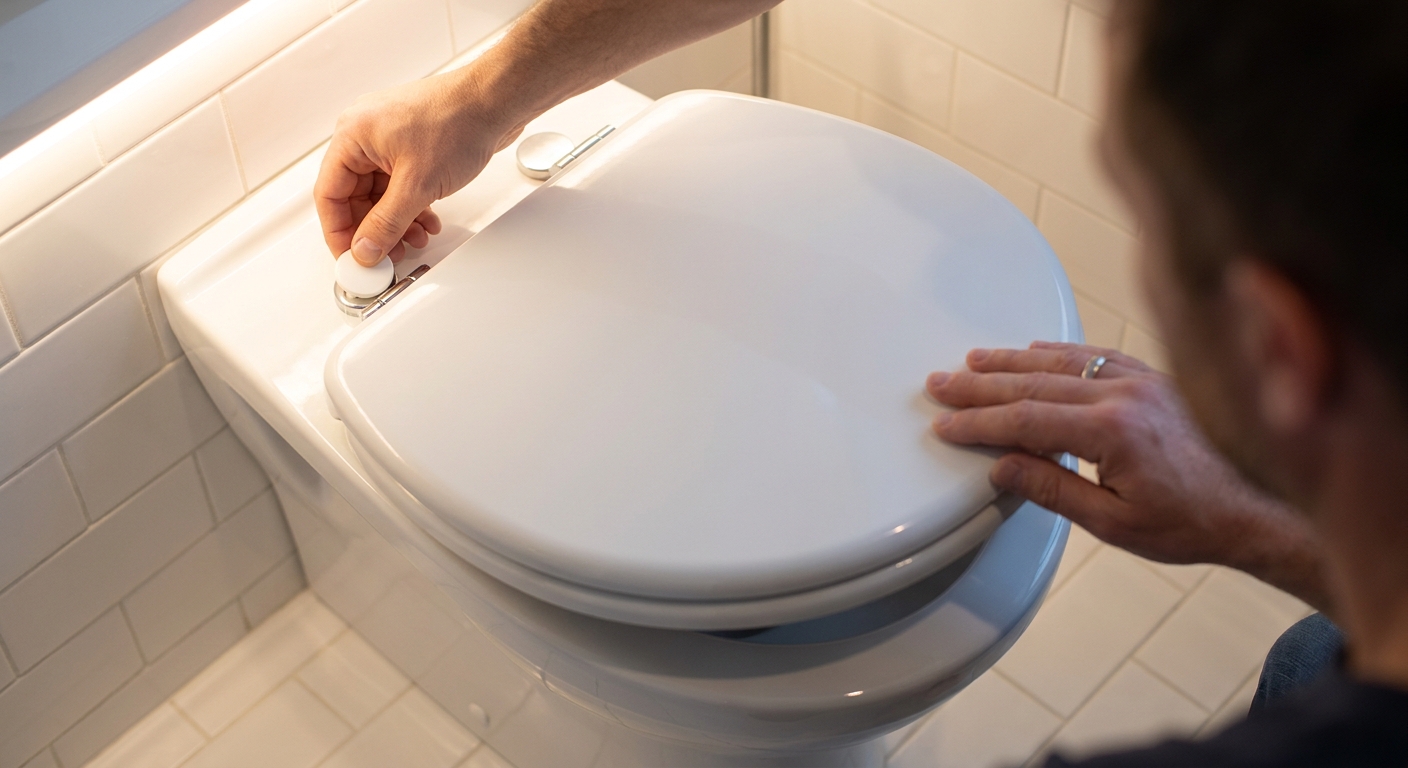
Lower the seat and lid. They should close smoothly (soft-close seats take a second or two, that's working as designed). Sit on it lightly to check stability. If everything's solid, click the plastic caps back over the fixings to hide them. Job done.
Frequently asked questions
Do I need a plumber to change a toilet seat?
No. Replacing a toilet seat is one of the few plumbing-adjacent tasks every Australian homeowner can legally do without a licence, nothing about the water supply or drainage is touched. If the work goes beyond the seat (the cistern, the pan, the connections), that's licensed plumber territory.
How long does a toilet seat last?
Plastic seats last 5–10 years before the hinges fatigue. Soft-close seats last longer in domestic use but the soft-close dampers can fail after about 7 years. If your seat is rocking or yellowed, replacement is cheaper and faster than fighting it.
My fixings are seized, what do I do?
Apply penetrating spray (WD-40 or similar), wait five minutes, try again. If they still won't budge, a hacksaw blade alone (no frame) can cut through a corroded brass bolt without damaging the porcelain, work slowly and keep the blade flat against the bowl.
Do soft-close seats wear out faster?
The dampers are the wear point. Most last 5–8 years in a normal household. A failing damper usually still functions as a seat, you just lose the slow-close action.