
Installing vinyl plank flooring, the weekend project that transforms a room
Click-lock vinyl plank is the easiest hard flooring to DIY. Here's how to lay it properly so the joints don't lift in summer or buckle in winter.

Tools and materials
Tools
- Tape measure
- Pencil
- Stanley knife / utility knife
- Speed square
- Rubber mallet
- Tapping block (supplied with most kits)
- Pull bar (for last row)
- Spacers (5mm)
Materials
- Vinyl plank flooring (calculate 10% over the room area)
- Underlay (if not pre-attached)
- Quarter-round or skirting trim to cover expansion gap
Vinyl plank is the easiest hard flooring to DIY install in 2026. Click-lock joints, no glue, no nails, no specialist tools. A confident DIYer lays 20 m² in a day. Materials run $35 to $100/m² supplied, contractor install adds $40 to $80/m².
When NOT to DIY this
- Bathrooms and laundries with floor wastes (need waterproof transitions)
- Over uneven concrete that needs self-levelling compound (specialist work)
- Heritage timber floors you want to keep visible (lift carpet to reveal them instead)
- Rooms with complex shapes (lots of jogs, multiple doorways, archways)
For standard rectangular rooms with sound subfloors, DIY is a real saving and a satisfying project.
Step by step
-
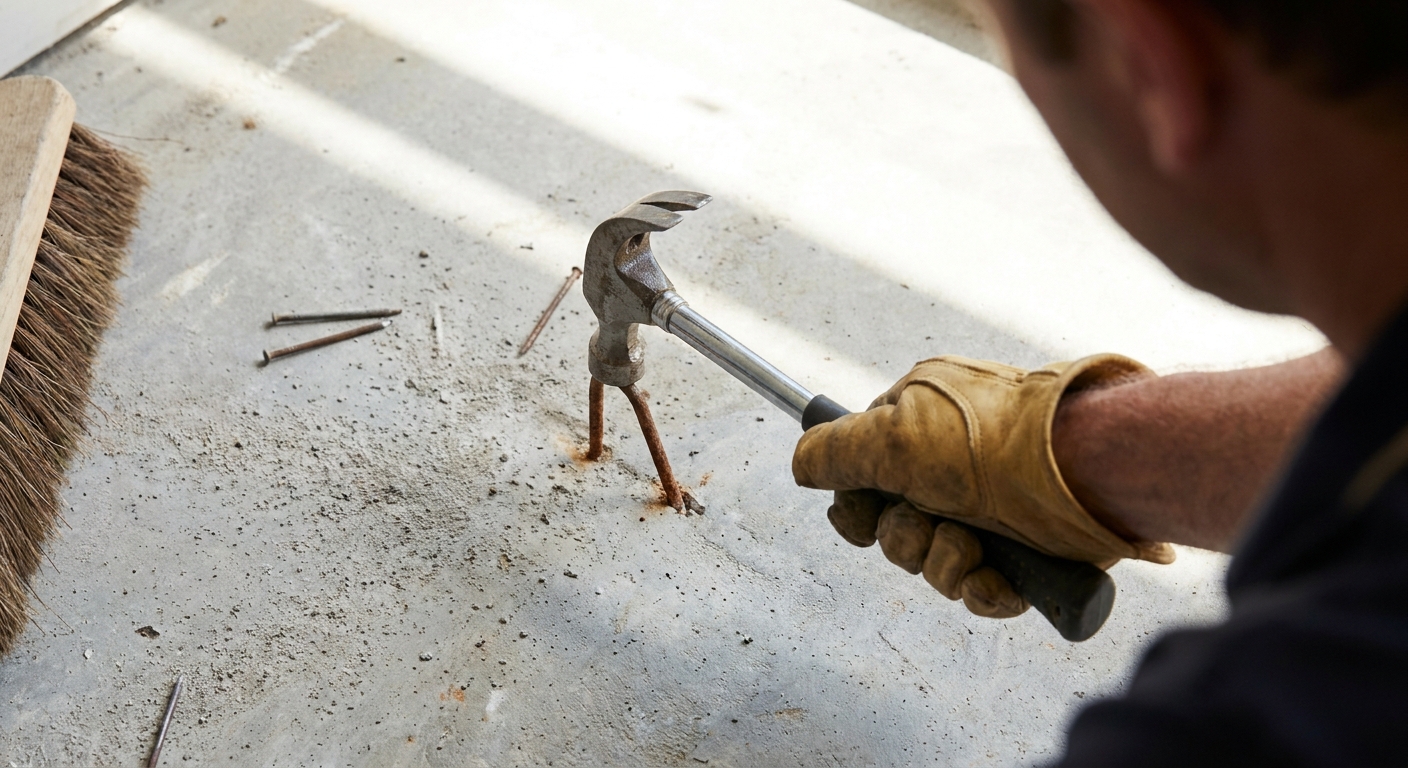
Existing floor must be flat, dry, and clean. Vinyl plank tolerates minor imperfections but anything over 3mm in 1m of variation needs leveling. Sweep, vacuum, and remove any nails or staples that protrude. If laying over concrete, ensure the concrete is fully cured (28 days minimum after pour) and dry (use a moisture test if unsure).
-
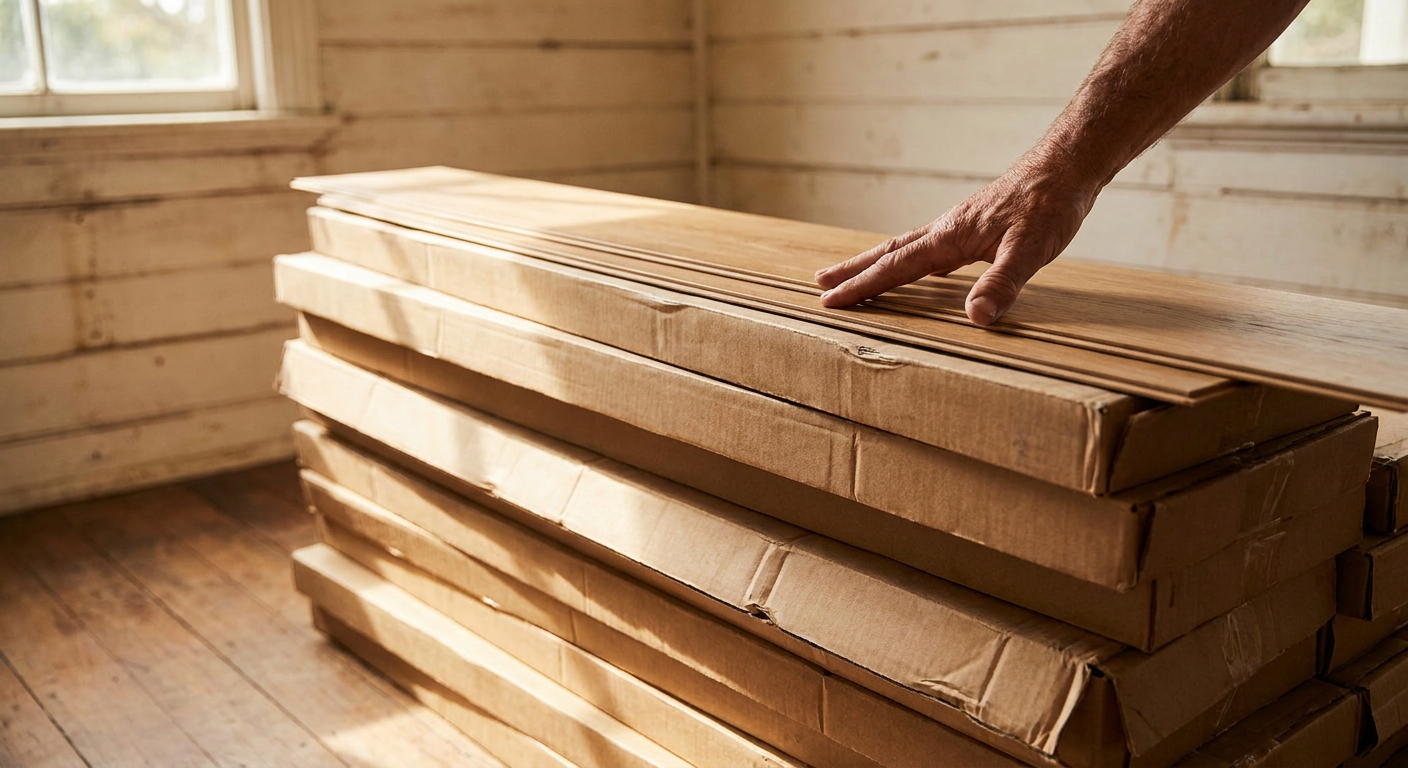
Bring the boxes of vinyl into the room you're flooring 48 hours before installation. Stack them flat. Acclimatising lets the planks expand or contract to room temperature before installation. Skip this and you'll see gaps or buckling within months.
-
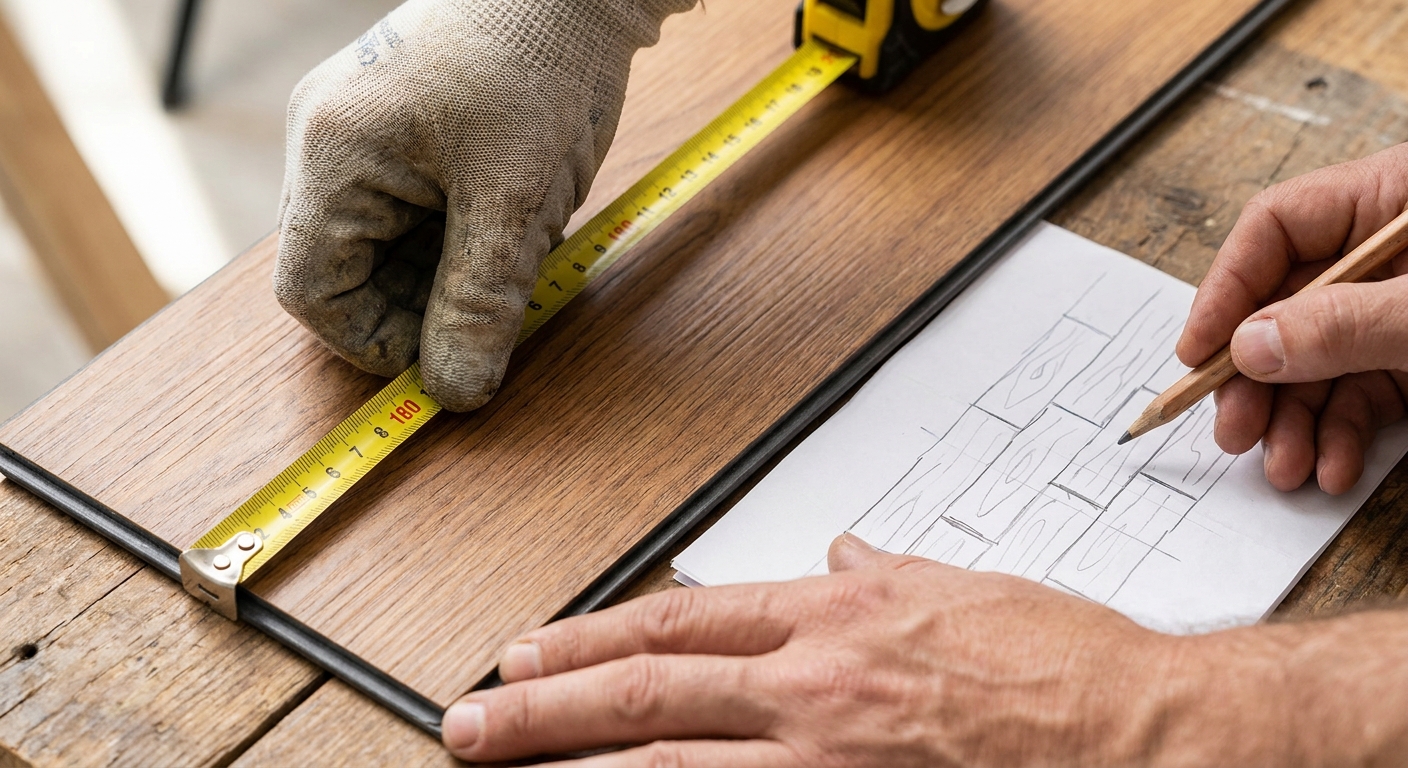
Measure the room. If the last row will be narrower than 50mm, plan to cut the first row narrower so both edges are similar widths. Sketch this on paper before cutting. Aim for: long boards running along the longest wall, joints staggered by at least 200mm between rows.
-
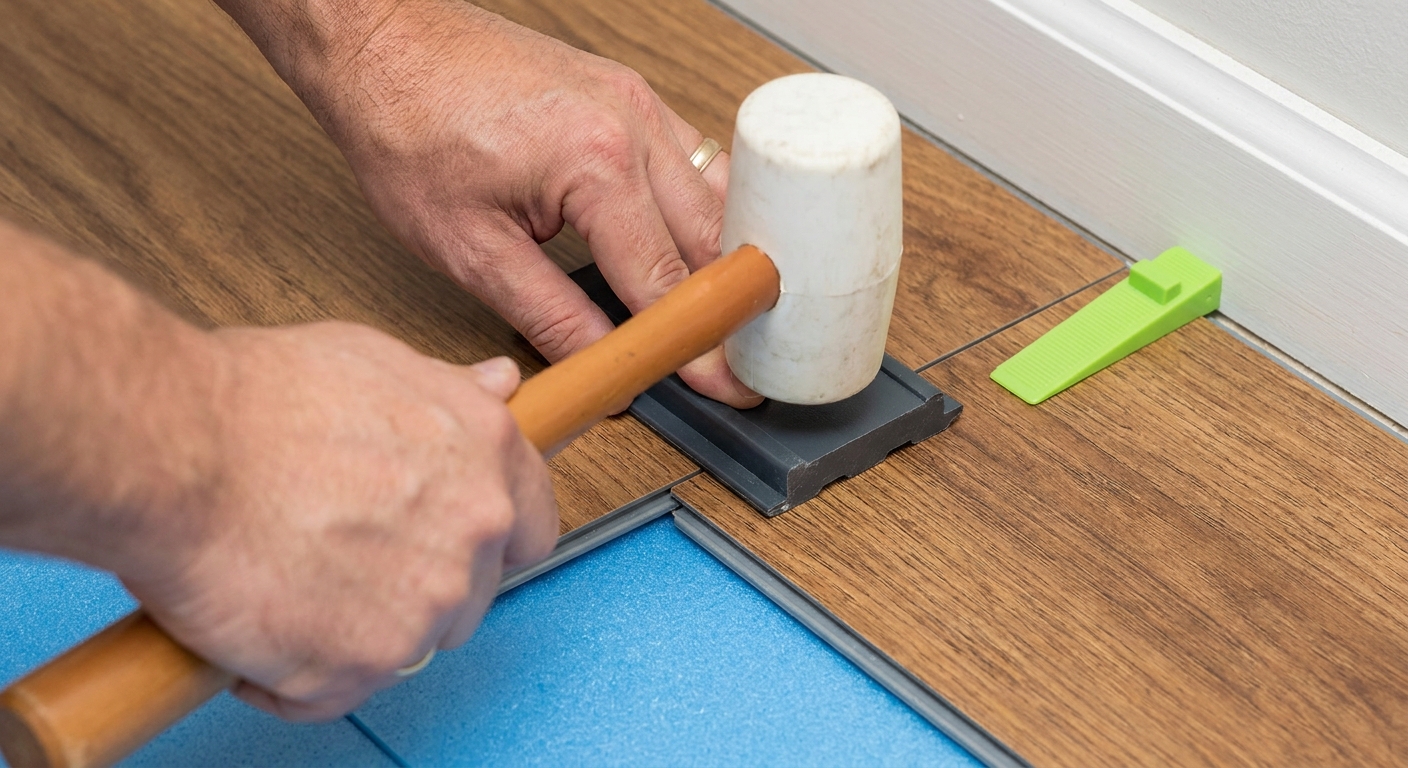
Start in one corner. Place 5mm spacers between the wall and the first plank, vinyl needs an expansion gap around the perimeter. Click the first plank's short end into the second plank. Use the tapping block and mallet to seat the joint firmly. Continue along the row.
-
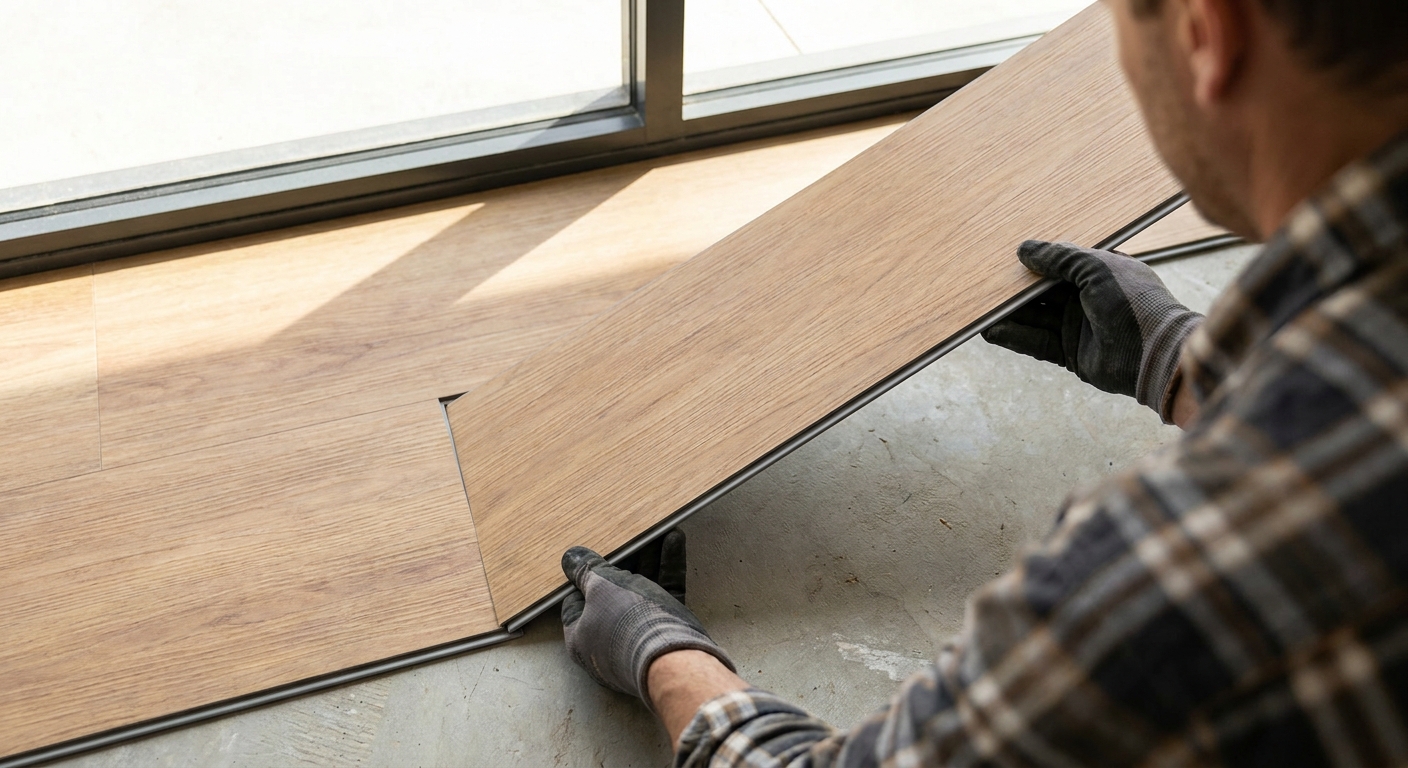
Cut the first plank of row 2 to a different length than row 1 (typically 300 to 600mm shorter). This staggers the end joints between rows, both for looks and structural strength. Click the long edge of the plank into the previous row at 45°, then drop flat. Tap to seat using the block.
-
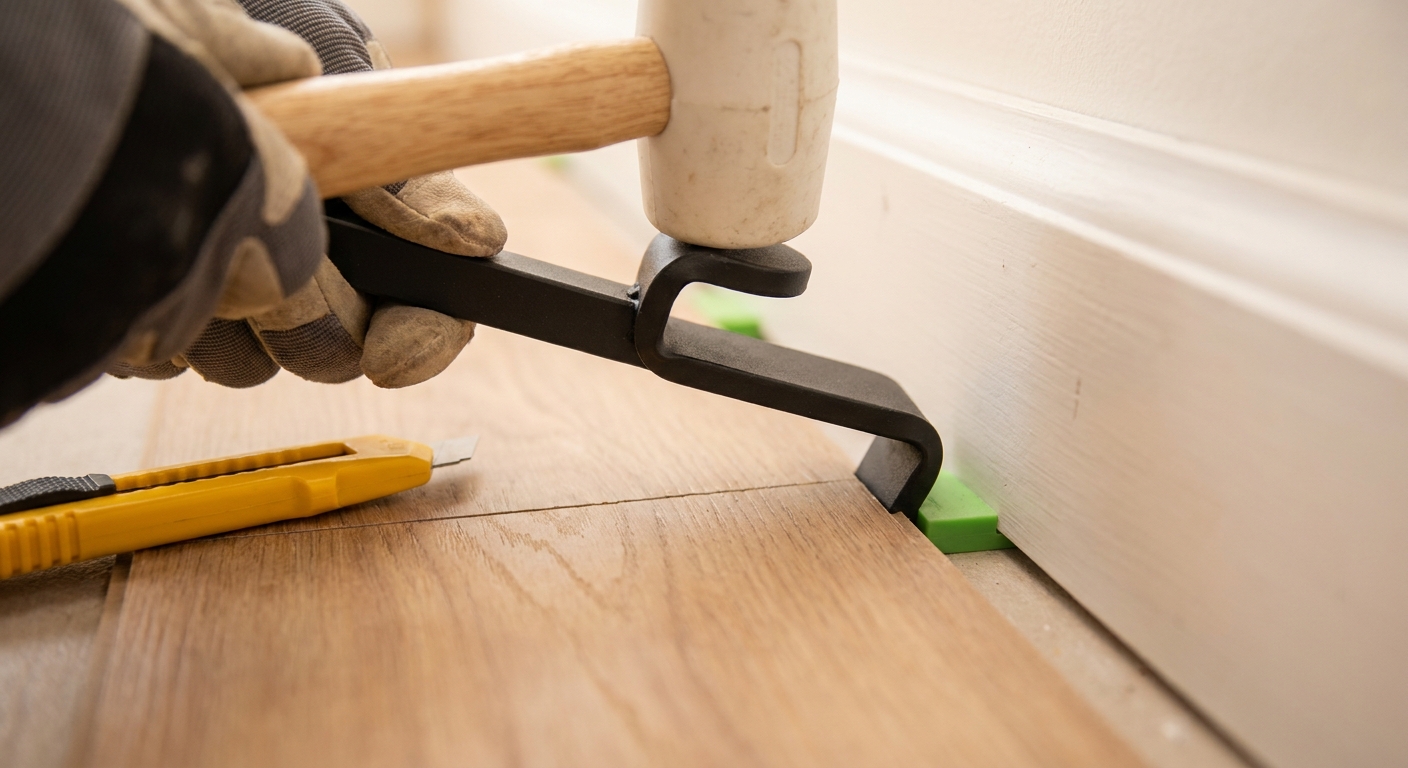
Last row almost always needs ripping (cut along the length). Measure each board individually as walls aren't perfectly straight. Use the utility knife to score and snap, two passes through the surface and the plank breaks cleanly. Fit using the pull bar to engage the joint with the wall in the way. Remove spacers. Fit quarter-round trim or replace skirting to cover the 5mm expansion gap.
Frequently asked questions
Can vinyl plank go over existing tiles?
Yes if the tiles are sound and flat. Vinyl is forgiving of minor unevenness but won't hide major dips or cracked tiles. Check first that adding 5 to 8mm of floor height won't cause door clearance problems.
Is vinyl plank waterproof?
Most modern click-lock vinyl plank is water-resistant rather than fully waterproof. It survives spills and pet accidents. Standing water (e.g. burst pipe) over hours can seep into the click joints. SPC (stone-plastic composite) plank is the most water-resistant subtype, suits bathrooms and laundries.
How long does vinyl plank last?
15 to 25 years for quality product (Karndean, Quick-Step, Polyflor). 5 to 10 years for cheap product. The wear layer thickness in mils determines durability: 12 mil for low-traffic bedroom use, 20 mil+ for high-traffic kitchens and entries.
Do I need underlay for vinyl plank?
Most premium vinyl planks come with pre-attached underlay (cork or foam). If yours doesn't, buy a 2mm foam underlay rated for vinyl. Underlay improves sound dampening, hides minor subfloor imperfections, and adds slight warmth underfoot.