
How to install skirting boards in an Aussie home, a weekend DIY guide
Skirting boards are one of the highest-impact, lowest-skill carpentry jobs you can DIY. Here's how to mitre the corners, fix to plasterboard or brick, and end up with a finish that doesn't look amateur.
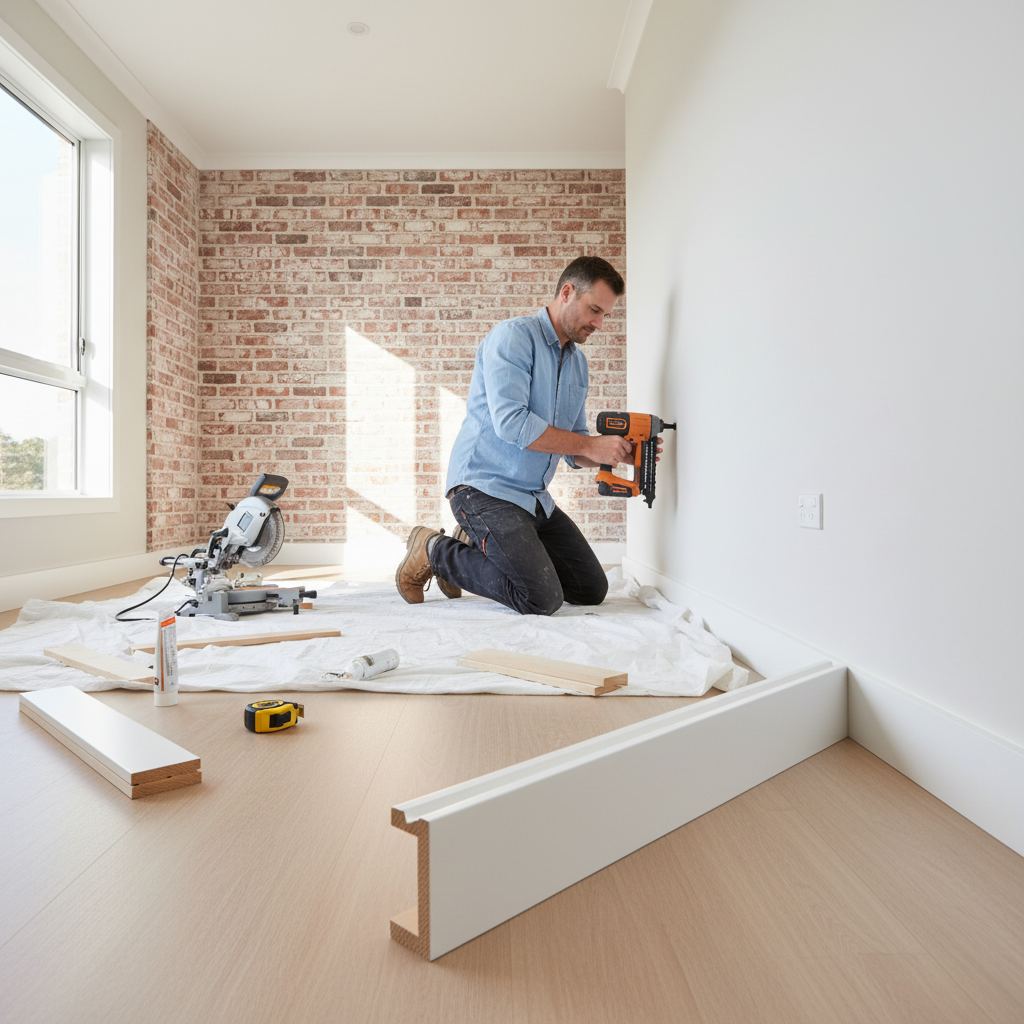
Tools and materials
Tools
- Mitre saw or mitre box
- Tape measure
- Pencil
- Drill
- Hammer + nail punch
- Caulking gun
- Stud finder
- Spirit level
Materials
- Skirting board lengths (MDF or pine, profile to match)
- Construction adhesive (Liquid Nails or similar)
- Brad nails or galvanised finishing nails
- Paintable acrylic gap filler
- Wood filler
- Sandpaper (120 and 240 grit)
- Paint or stain to match
New skirting transforms a room. It also tests whether your eye for a clean line is what you think it is. Get the corners right and the finish is as good as a chippy’s. Get them wrong and every visitor will spot it.
This is genuine DIY work in every Australian state. The job is purely carpentry, no electrical or plumbing involvement. Just sweat, patience, and a sharp mitre saw.
The two cuts that decide the whole job
External corner (corner sticking out): mitre at 45° from both sides. Standard.
Internal corner (corner going into the wall): cope, don’t mitre. Coping means cutting the second board to fit the profile of the first board’s face. Looks harder than it is, and forgives walls that aren’t square.
Master those two cuts and skirting becomes a one-weekend job for a whole house.
When to pay a chippy instead
If your house has:
- Plaster cornice mouldings that need scribing into
- Heritage skirting profiles (Victorian Federation deeply profiled)
- Stained skirting where joints have to be invisible under varnish
- A staircase landing where boards turn corners on a slope
Get a chippy in. Stained joinery especially, the smallest gap shows under varnish, and once it’s stained, it can’t be filled cleanly.
Standard paint-grade MDF in a standard rectangular room is well within DIY territory.
Step by step
-
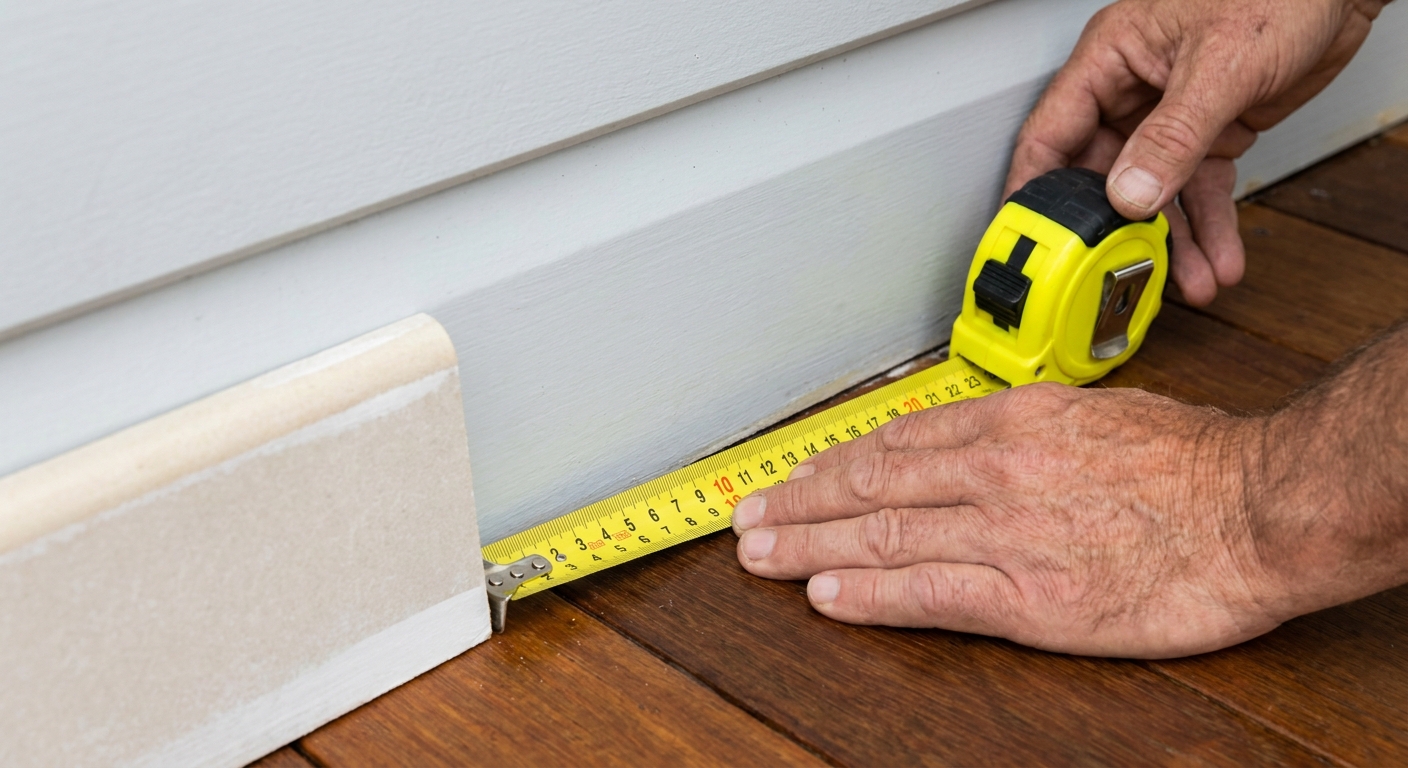
Measure each wall and add 10% for cuts. Skirting comes in standard 5.4m lengths. Standard Aussie profiles: 92mm bullnose, 138mm splayed, 67mm chamfered. Pick a profile to match what's there already, or for a new feel, go up in height. MDF for paint-grade work, pine for stain.
-
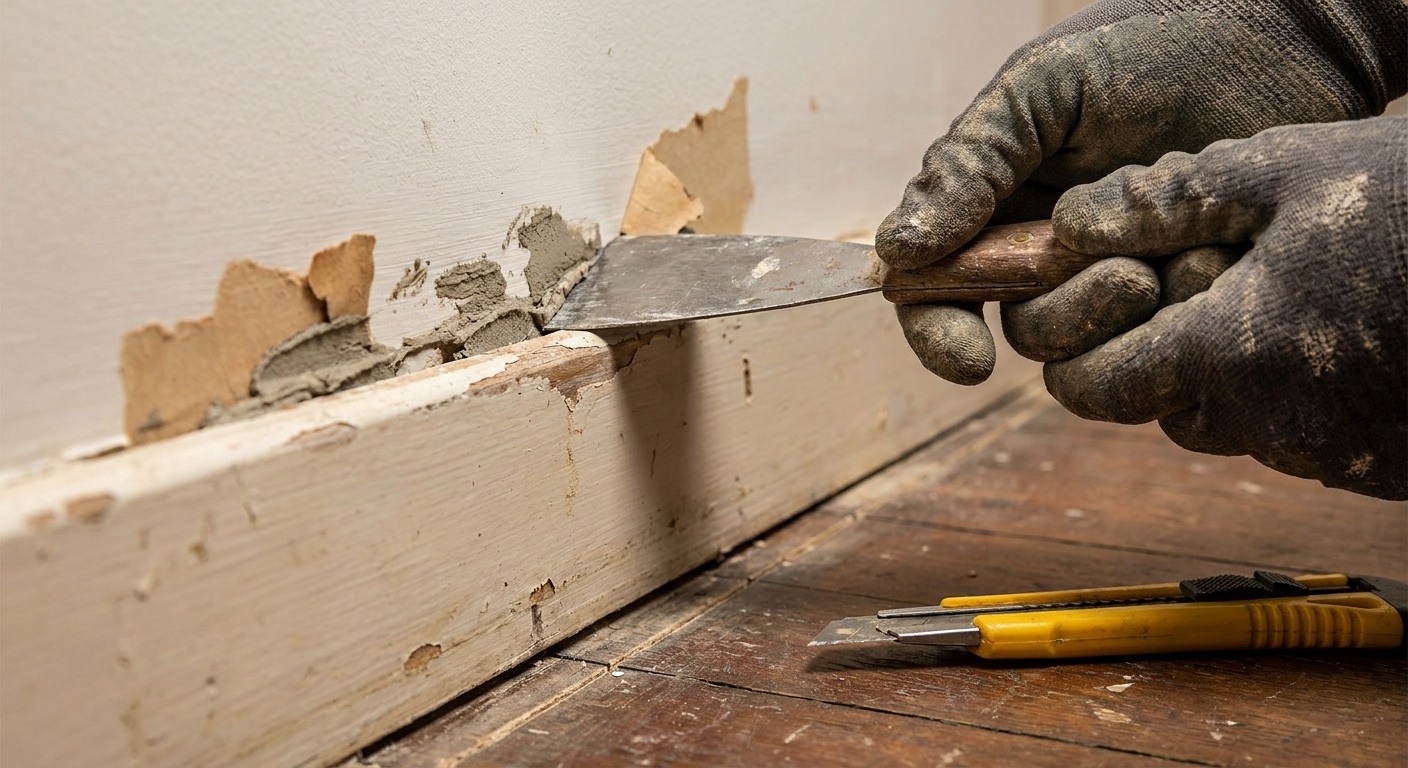
Run a Stanley knife along the top edge to break the paint seal with the wall. Use a small pry bar or putty knife to lever the boards off, working along the length. Take care not to damage the plaster, you'll be making good with caulk later but big chunks cost time.
-
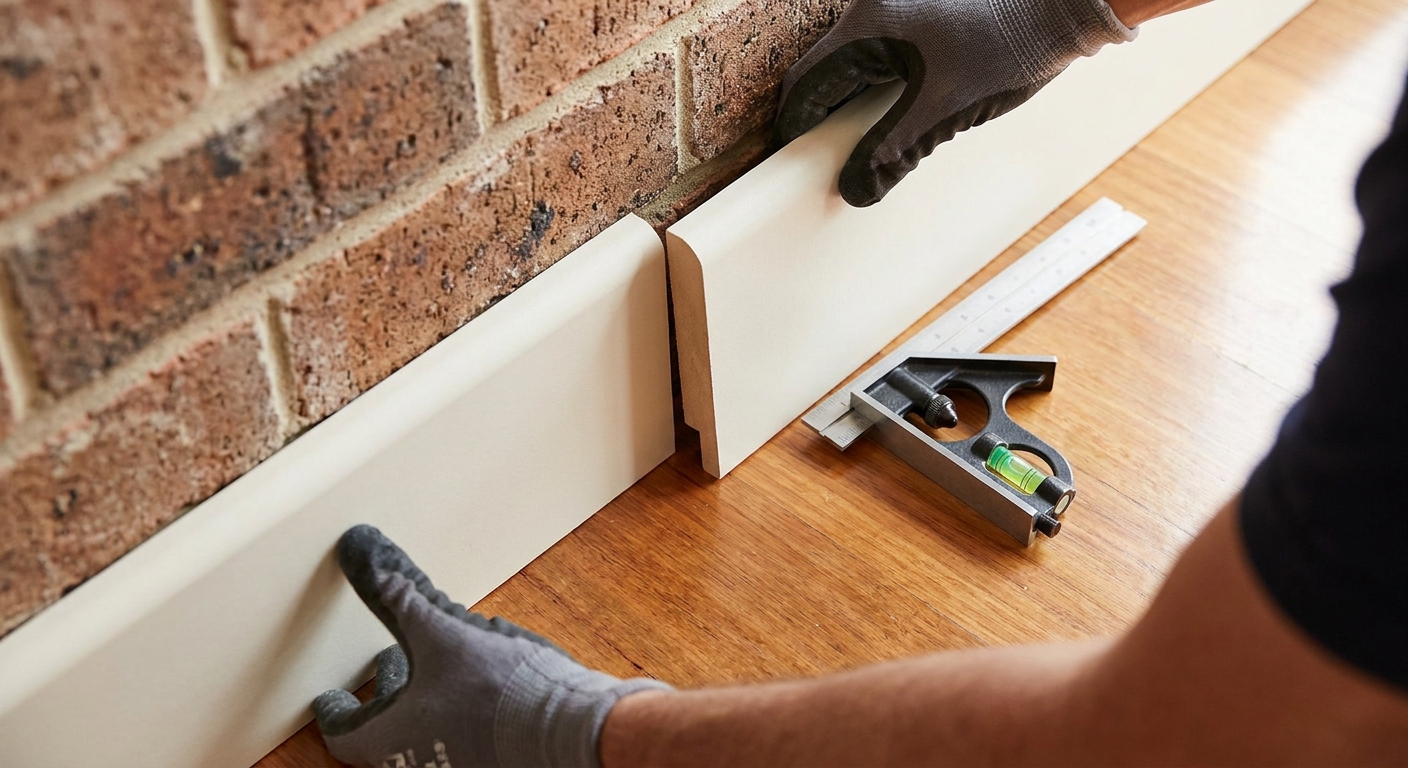
Start with the longest unbroken run. Cut a board to length, square ends butt to internal corners. Dry-fit before fixing. If a wall is longer than your stock length, splice with a 45° scarf joint, not a butt joint, scarf joints disappear under paint.
-
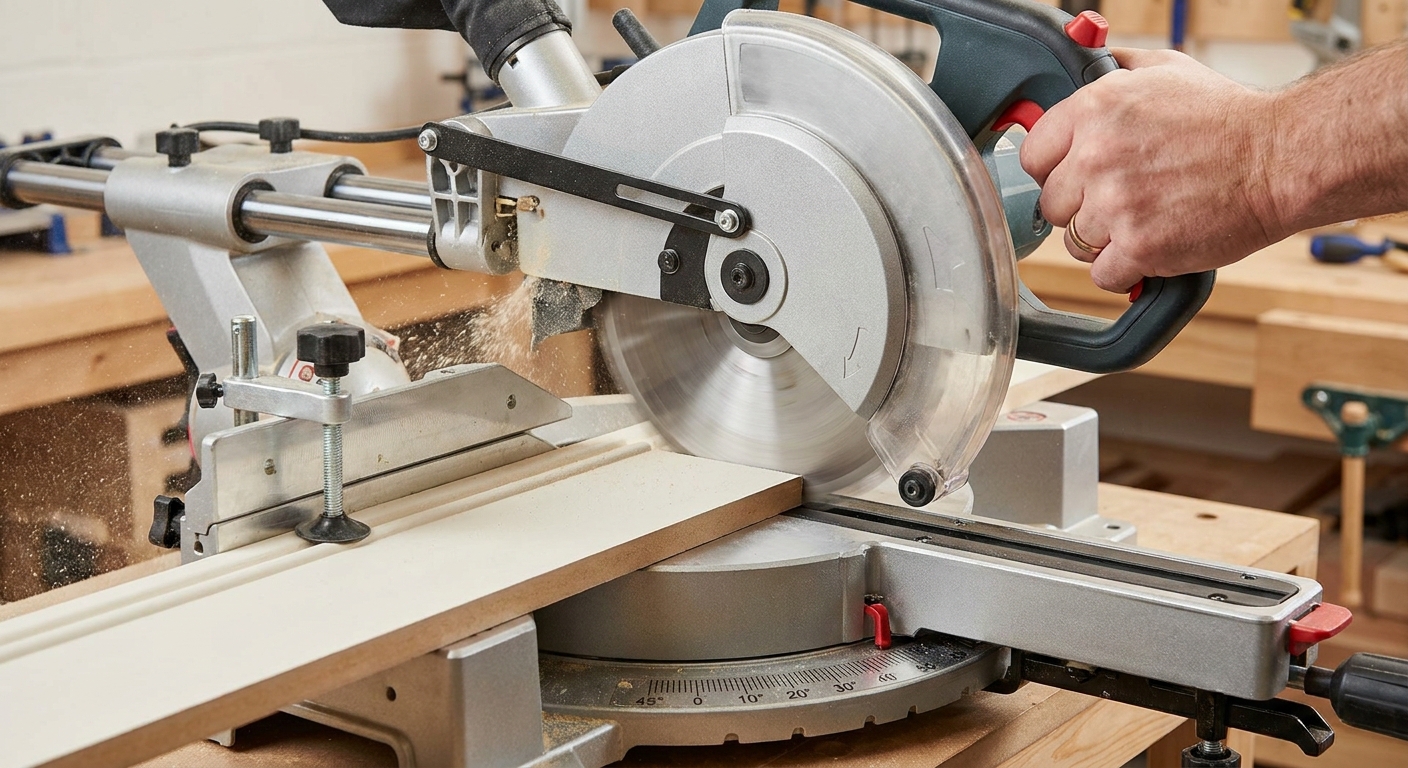
External corners (the ones that stick out into the room) get mitred at 45°. Set the mitre saw to 45° one way for the left board, 45° the other way for the right. Cut, dry-fit, adjust if the wall isn't a perfect 90° (most Aussie walls aren't). A gnat's gap on the outside can be filled, a gap on the inside can't.
-
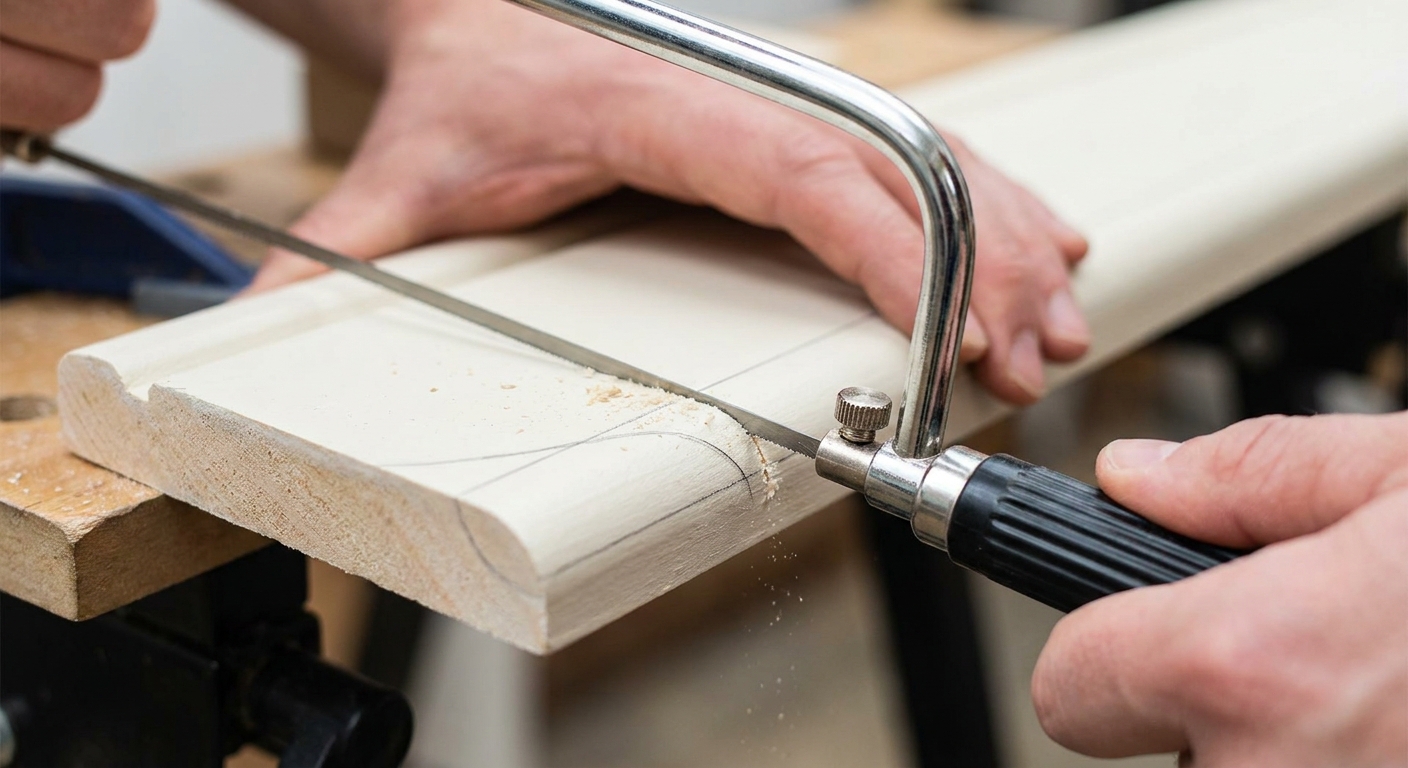
Internal corners (corners that go into the wall) look better coped than mitred. Cut the first board square into the corner. On the second board, cut a 45° back-cut, then follow the profile shape with a coping saw to remove the front face, leaving the back face to butt against the first board's face. Sounds tricky, takes 5 minutes per corner once you've done one.
-
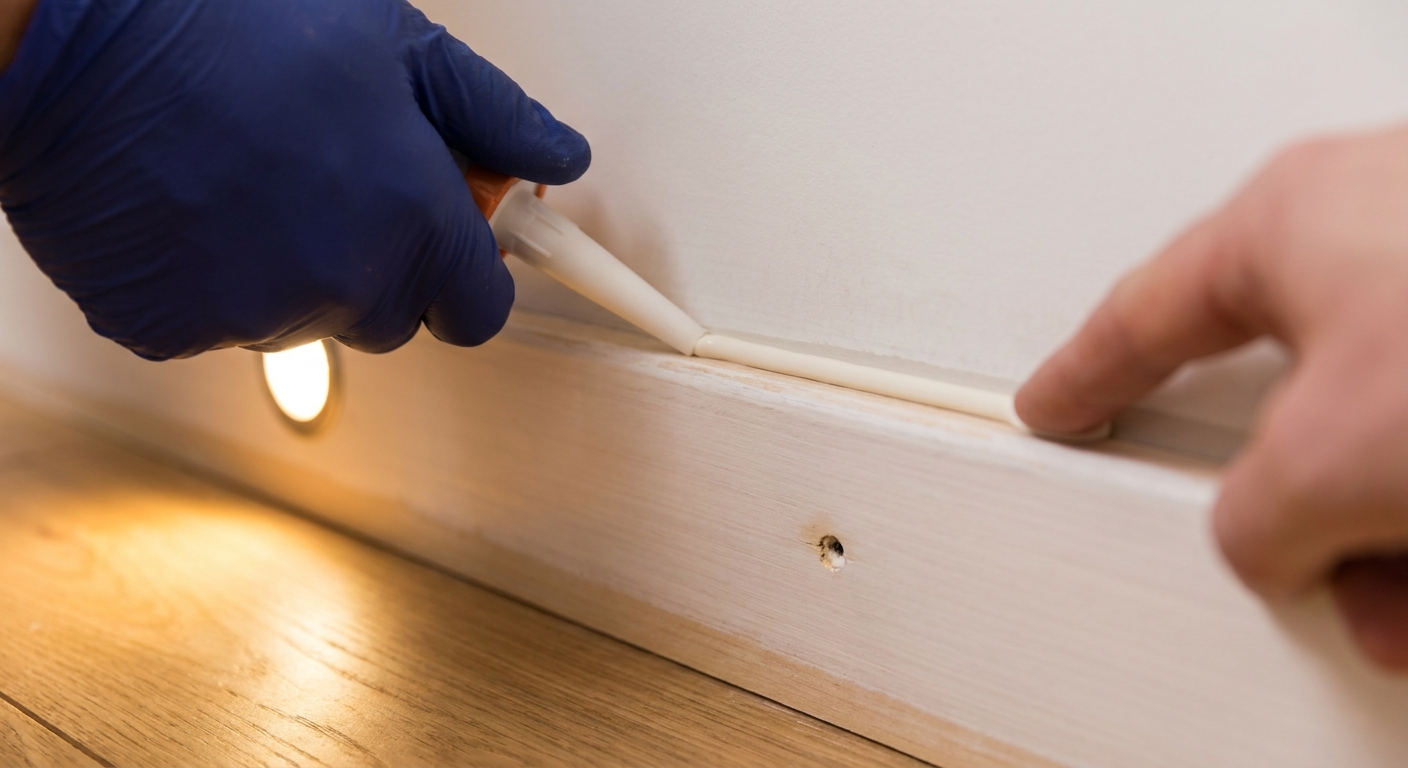
Run a thin bead of construction adhesive along the back of each board. Press to the wall. Drive 2 brad nails or finishing nails per metre into studs (find them with the stud finder). Punch the nails 2mm below the surface. Fill the nail holes with wood filler, sand smooth. Run a bead of paintable caulk along the top edge between board and wall. Wipe with a damp finger for a clean line. Paint or stain to finish.
Frequently asked questions
MDF vs pine skirting, which is better?
MDF is straighter, cheaper, takes paint perfectly, and is the standard in Aussie new builds. Pine is needed if you want a stained or natural-wood finish. MDF doesn't like water, avoid it in bathrooms and laundries, or seal the cut edges with primer first.
Do I need to remove the old skirting first?
Yes, in 90% of cases. Overlaying new on top of old looks bulky and traps moisture between the layers. The only exception is fitting a new mantle bead on top of existing skirting for a decorative tier, which is a finish choice, not a save.
How do I fix skirting to brick walls?
Construction adhesive is the main fixing on brick. Nails won't bite, and drilling for screws every metre is a slog. Liquid Nails Heavy Duty holds 18kg per 30mm, more than skirting will ever load. For belt-and-braces, drill and use masonry plugs at corners and joints.
How do I deal with walls that aren't square?
Most Australian walls are out by 1 to 5mm in a 3m run. Mitre joints exaggerate any wall error. Trick: cut your mitres at slightly more than 45° (so 46° each side) to close gaps on the outside. Test with offcuts before cutting the real boards.