
How to install shelving that doesn't fall down, on plaster, brick, or stud
Floating shelves, bracket shelves, alcove shelves, all of them fail the same way. Here's the right fixing for each wall type and the load each one actually holds.
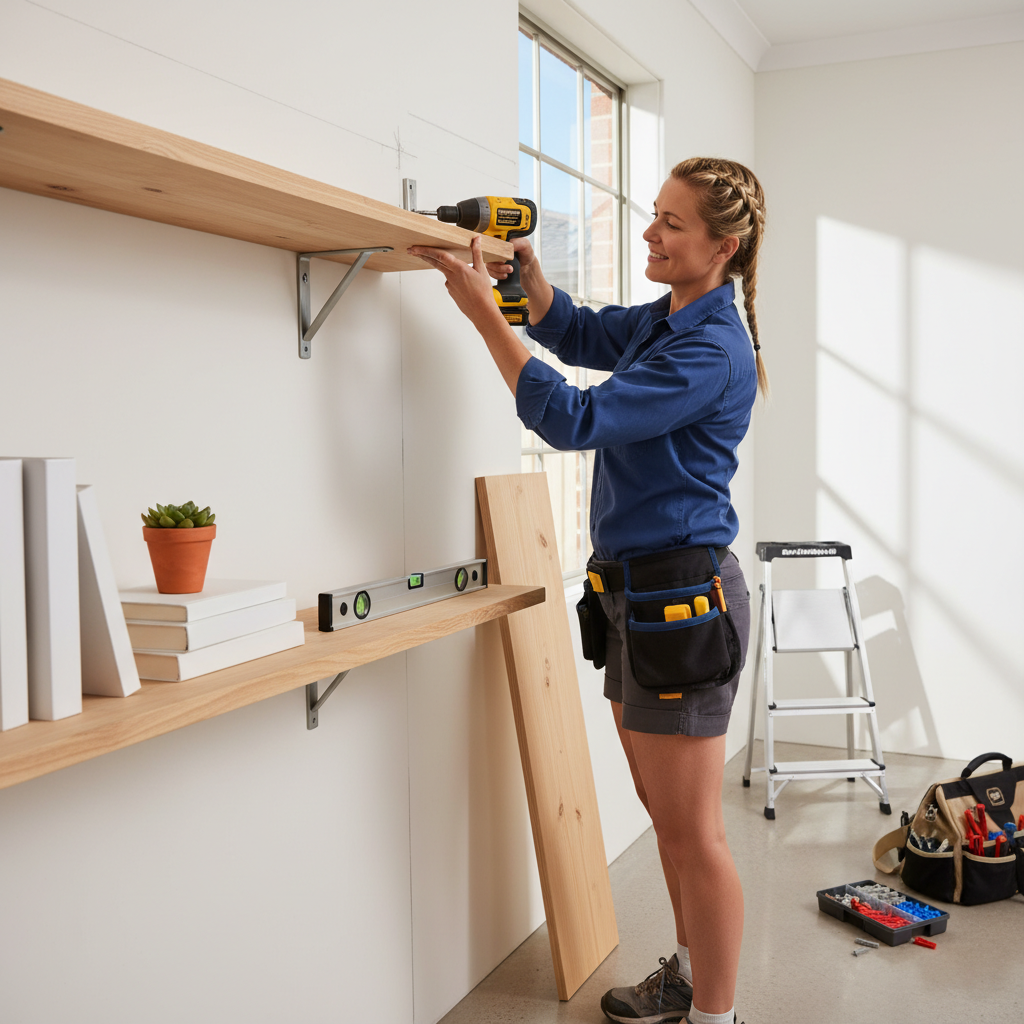
Tools and materials
Tools
- Drill with bits
- Stud finder
- Spirit level
- Tape measure
- Pencil
- Phillips screwdriver
Materials
- Shelf and brackets (or floating shelf kit)
- Wall plugs (red for #6, blue for #8, brown for #10)
- Screws to match
- Toggle bolts (for unsupported plaster)
Shelves on the floor with everything that was on them shattered, that’s the #1 outcome of bad shelf installation. The job is easy. The fixing choice is where it goes wrong.
This is genuine DIY work in every Australian state. No plumbing or electrical involvement, just carpentry and the right plug for your wall.
The four-rule shelf
- Match the fixing to the wall, never the other way around
- Find the stud if you can; bolt to it
- Use brackets at 600mm centres max for medium loads, 450mm for heavy
- Always test before loading
Get those right and the shelf is up for decades. Skip any one and it’s on the floor by year’s end.
Step by step
-
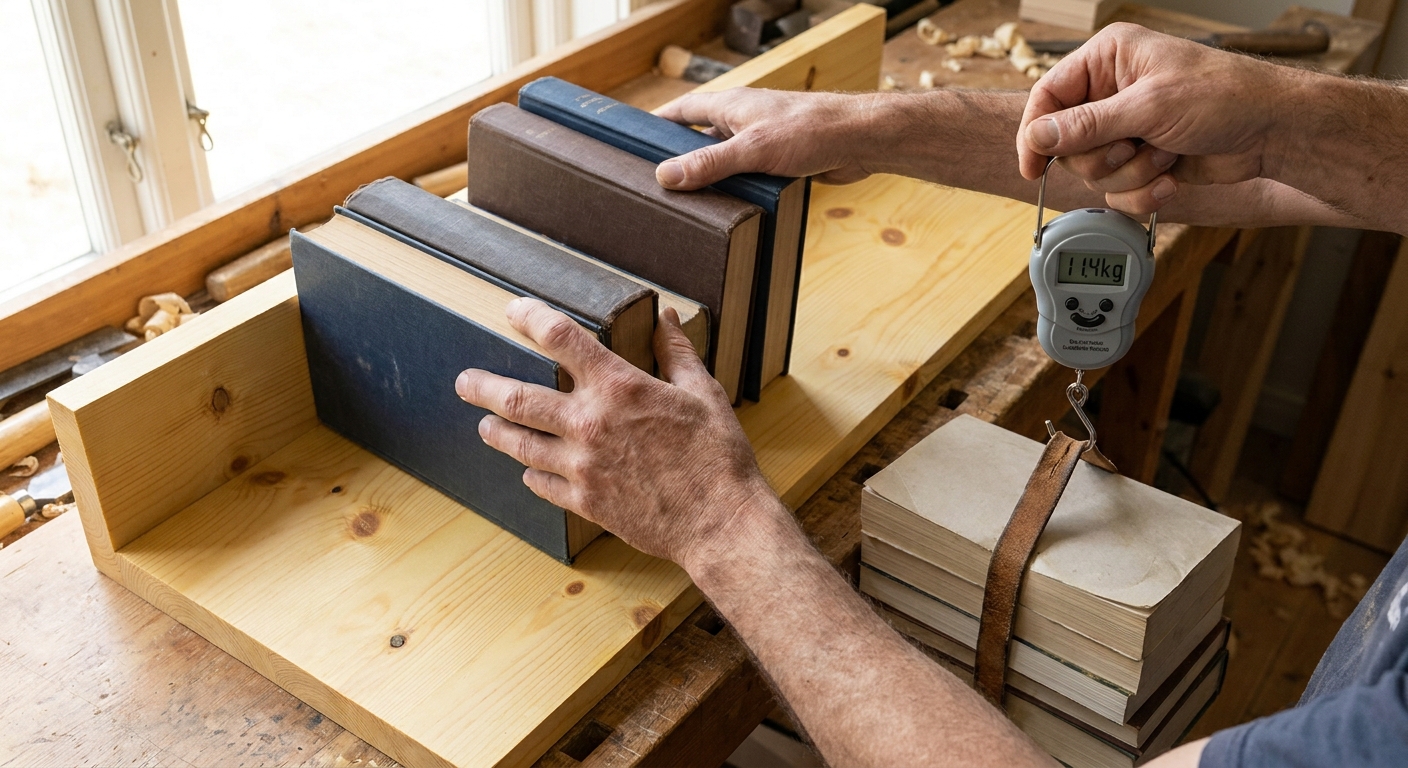
Light books are about 1kg per spine. A linear metre of paperbacks weighs 8 to 12kg. A 600mm-wide shelf of hardcovers can hit 25kg. Plates, kitchen jars, and tools are heavier per centimetre. Total your load, then double it for a safety factor, your fixings have to hold the doubled number.
-
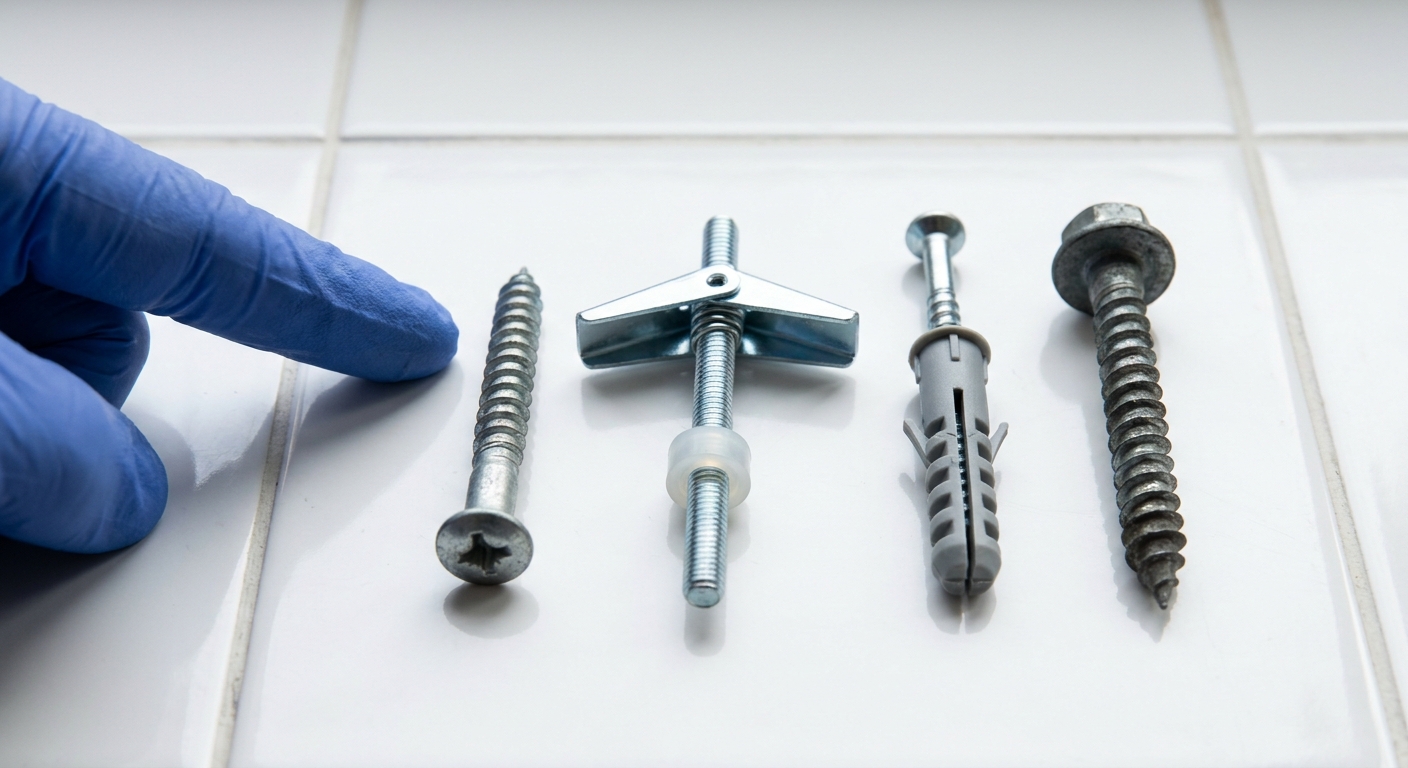
Stud behind plaster (the strong option): 65mm wood screws, no plug needed. Holds up to 60kg per stud point. Hollow plaster (no stud): toggle bolts or self-drilling cavity anchors. Holds 15 to 25kg per fixing. Brick or block: 6 or 8mm masonry plug + matching screw, holds 30 to 50kg per fixing. Concrete or hebel: manufacturer-specific anchors. Mixing fixings is the #1 cause of shelves on the floor.
-
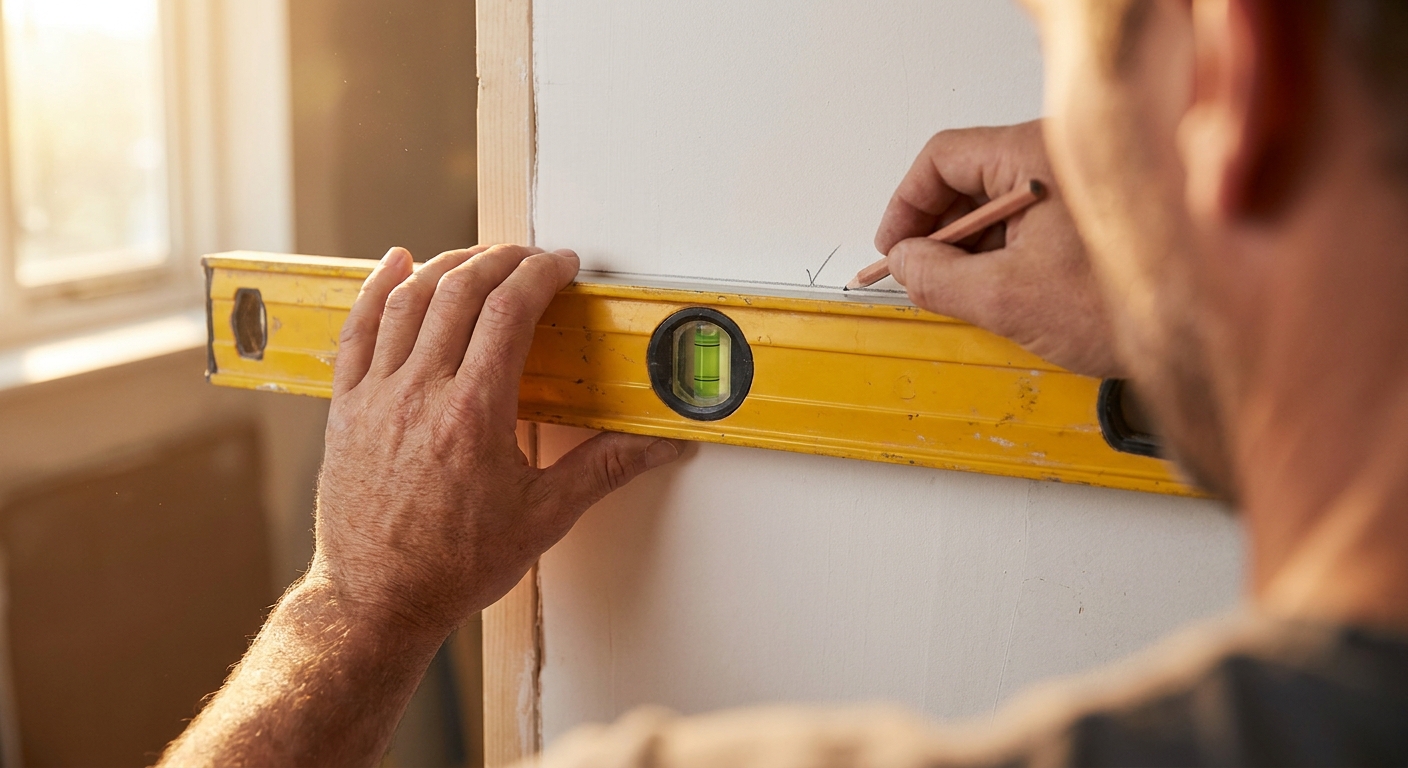
Hold the shelf to the wall at the height you want. Mark the underside edge with pencil. Use a spirit level to draw the line across. For bracket shelves, mark the bracket positions on the line. For floating shelves, the kit's wall plate defines the position. Measure twice. Pencil marks are free; drilled holes aren't.
-
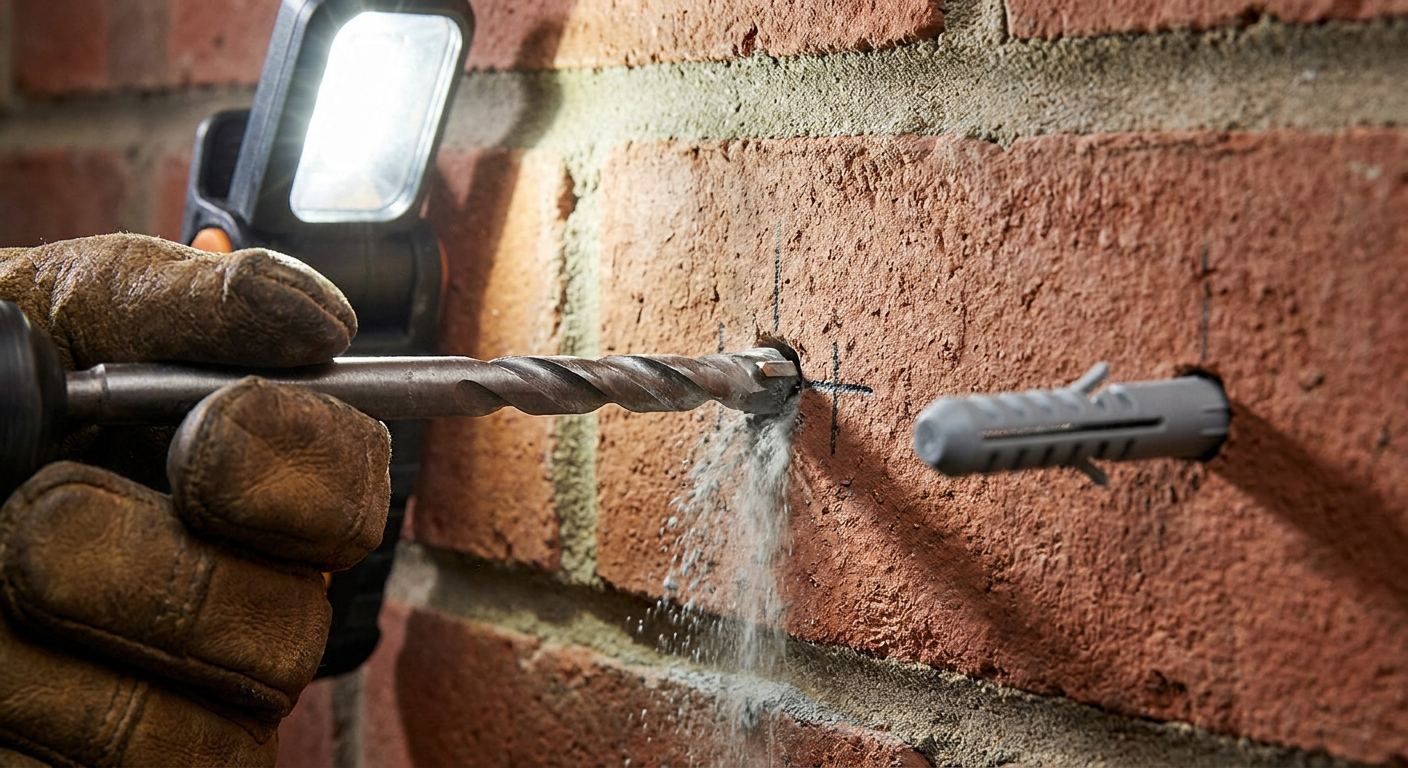
Drill pilot holes at the marked positions. For studs, use a 4mm wood bit and the screws go straight in. For brick, the drill bit should match the plug size (6mm bit for #8 plug). Hammer the plugs in flush. Screw the brackets to the wall, snug but not over-tightened on plaster (over-tight strips the plug).
-
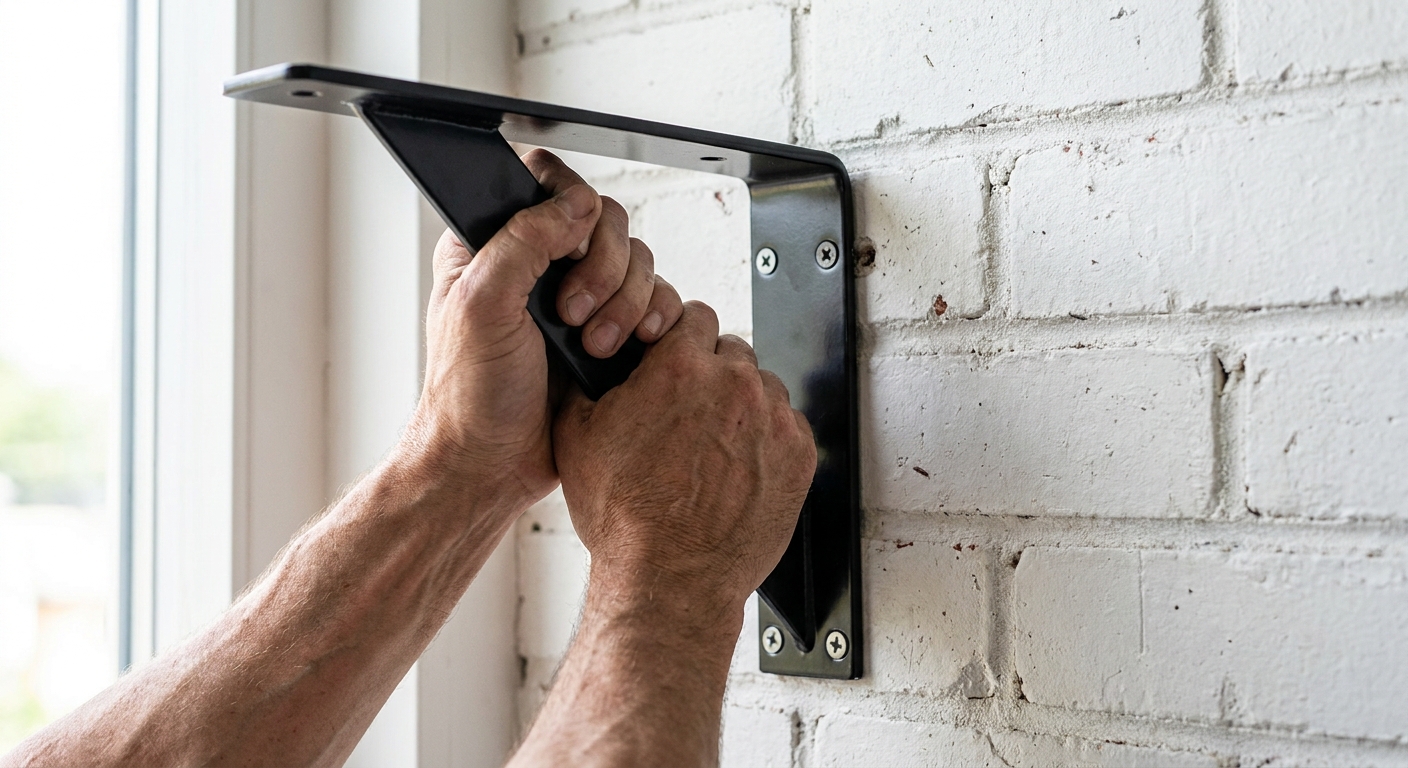
Hang from the bracket with your full body weight for 5 seconds (carefully, with your feet still on the ground). If it doesn't move, it holds. If it shifts, your fixing isn't seated and the shelf will fail under load. Remove, re-drill, re-plug, re-screw.
-
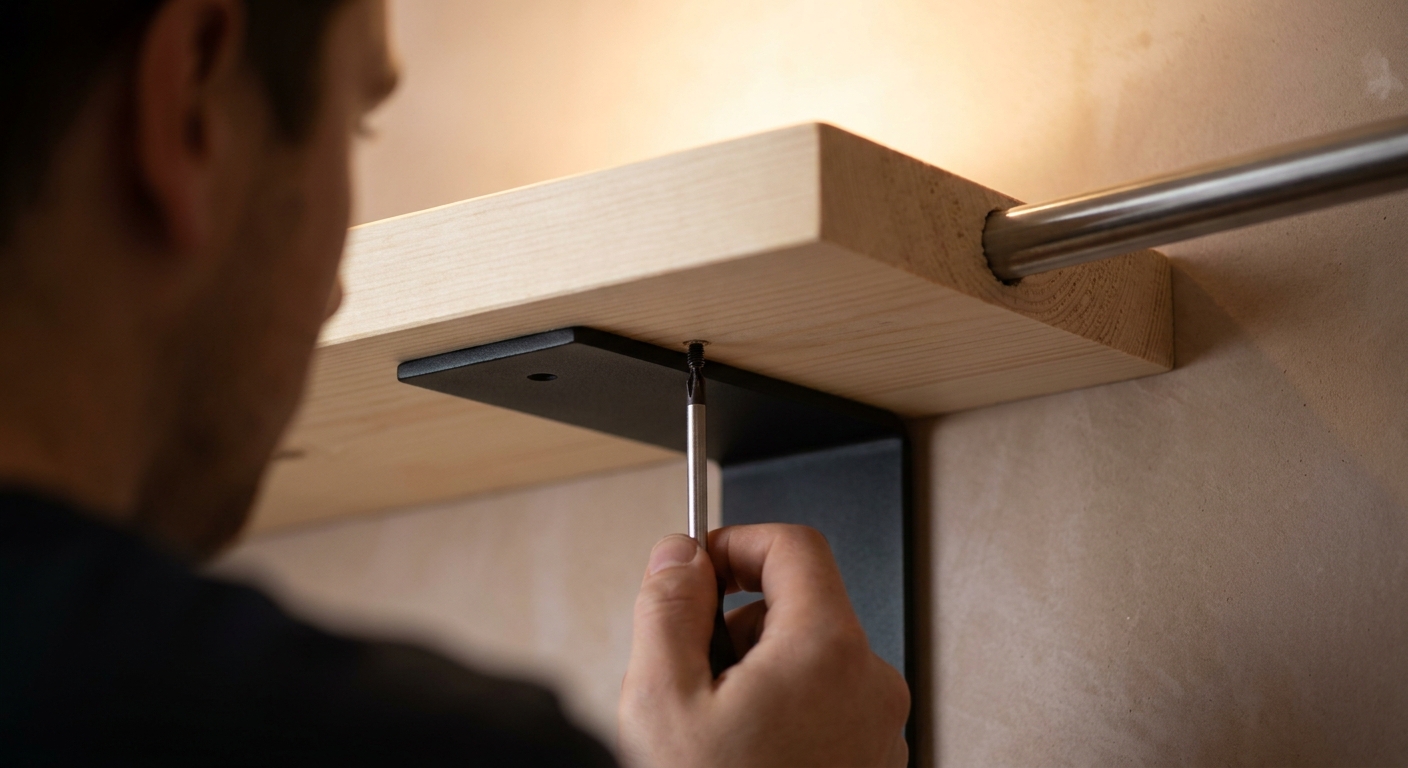
Drop the shelf onto the brackets. Most kits have a small fixing screw underneath, drive that in to lock the shelf to the brackets (anti-walk). Load the shelf gradually over a day, not all at once. Check the brackets again after 24 hours, any movement means you've under-fixed.
Frequently asked questions
How much weight can a floating shelf hold?
Depends on the kit. Cheap floating shelves from $30 are rated 8 to 12kg. Quality ones rated for heavy use (kitchen jars, books) start at $80 and hold 30kg plus. The rating is the kit's, then the fixings into the wall are the second limit. If you fix into plaster cavity instead of studs, halve the rating.
Toggle bolts vs self-drilling anchors, what's the difference?
Toggle bolts open behind the plaster and grip from the back, very strong for plaster cavities. Self-drilling anchors (like Driva or Plasplug) screw into the plaster face and grip the plaster itself, easier to install but weaker (about half the load).
My shelf sags in the middle, what's wrong?
Three causes: (1) the shelf material is too thin or too long for the bracket spacing (16mm pine sags over 700mm even with brackets), (2) the brackets are too far apart, max 600mm for medium loads, 450mm for heavy, (3) the brackets aren't bolted to studs and the wall is moving. Add an intermediate bracket or move to thicker shelf material.
Can I use IKEA hardware on Aussie plaster?
Most IKEA wall fixings are designed for European plaster which is typically thicker than Australian plasterboard. The included plugs often don't grip properly. Replace with Aussie-spec cavity anchors (Driva, GeeFix), the IKEA shelves themselves are fine.