
How to silence a squeaky floor, the actual fixes that work
Squeaky floors are friction between two pieces of timber. Find the squeak, fix the friction. Aussie guide to dealing with it from above and below, on timber and on engineered flooring.
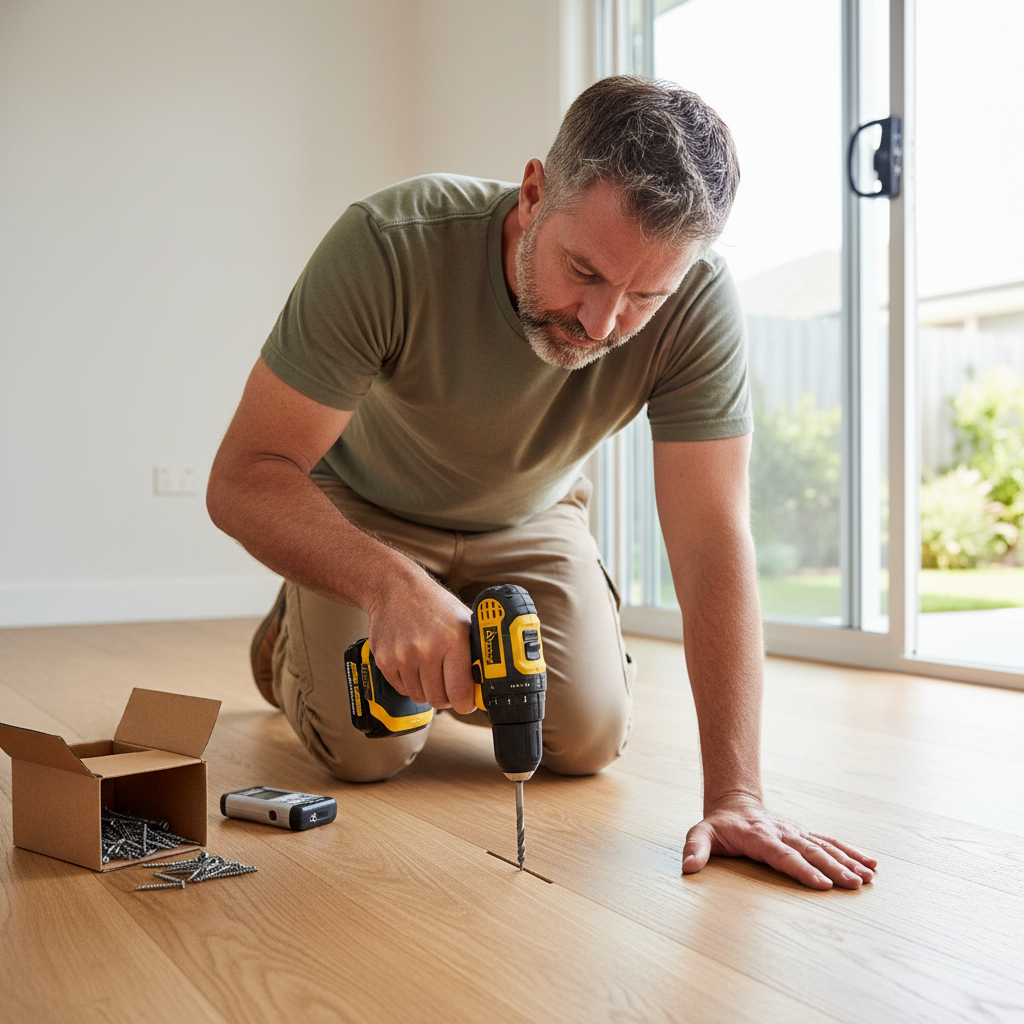
Tools and materials
Tools
- Drill with bits
- Hammer
- Nail set / punch
- Talcum powder or graphite powder
- Pry bar
- Torch
Materials
- Floorboard screws (decking screws if access from below)
- Construction adhesive
- Wood shims
- Wood filler matching the floor finish
A squeaky floor is the sound of two pieces of timber rubbing against each other. Find which two and the fix is straightforward. Most squeaks are a 30-minute job with $10 of hardware.
This is straightforward carpentry, no structural change, no electrical or plumbing. Genuine DIY in every Australian state. The only time to call a chippy or a builder is if the squeak comes with sagging, springiness, or visible damage from below, those are signs of joist or bearer rot, and they need a professional.
Where the squeak comes from, in order of likelihood
- Board-to-joist friction, a nail has worked loose, the board lifts a fraction when you step. Fix from above with a trim screw.
- Board-to-board friction, boards have dried and shrunk, edges rub. Fix with talc dust along the joins or, for persistent cases, screws into the joist.
- Joist-to-bearer friction, less common, joist movement on the supporting bearer. Fix from below by shimming the gap.
- Loose bridging or noggings, joist-stabilising blocks between joists have come loose. Fix from below.
Walk the room at night with the lights off and a torch. Listen. Mark the squeaky board with a sticky note. Have someone else walk it while you listen from below if you have crawl-space access. Diagnosis is half the job.
The 90% fix
For timber floors with normal nails, the answer is almost always: drive a #8 trim screw at 30 degrees through the floorboard into the joist below. The screw locks the board down, eliminates lift, kills the squeak. Sink the head with a nail punch, fill with wood putty in the floor’s tint, sand and seal. Invisible.
Avoid the cheap “Squeak No More” kits sold online, they’re glorified trim screws, and you can buy the same hardware at any Aussie hardware store for half the price.
When the squeak is a structural warning
If the floor flexes or springs noticeably when you walk, that’s not a squeak fix, that’s a structural inspection. Bearers and joists in older Aussie houses can be eaten by white ants without showing anything from above for years. Get a builder or pest inspector in before paying for a cosmetic fix.
Frequently asked questions
Why does my floor squeak?
Timber on timber friction. Either the floorboards are rubbing on each other (gaps opened up as wood dried), or boards are rubbing on the joists (nails worked loose). Both fix in different ways.
Can I fix a squeak from above?
Yes, with screws driven through the board into the joist below. The trick is finding the joist (it runs perpendicular to the boards) and using a fastener that won't show. Trim screws have small heads that fill with wood putty invisibly.
My engineered floor squeaks, is the fix different?
Yes. Engineered and laminate floors squeak when the underlay compresses or shifts. Driving screws through engineered tongue-and-groove voids the warranty and can crack the surface layer. Best fix is from below if you have crawl-space access. Otherwise, talc on the joins reduces friction temporarily.
Do I need a carpenter for this?
Almost never. A squeaky floor fix is one of the most genuinely DIY-friendly carpentry tasks. Get a chippy in only if the squeak is the symptom of joist rot or termite damage, in which case you have bigger problems than the noise.